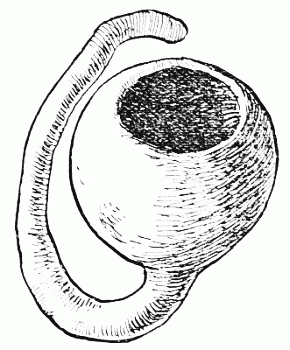
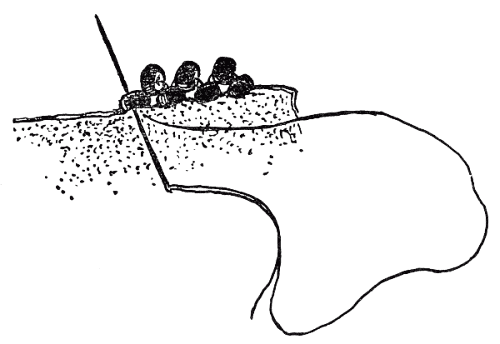
| Materials Required: | ½ yard each of blue, red, yellow and green gingham, |
| 3 quarts of small white beans, |
| A length of No. 6 rattan, |
| A bunch of red raffia, |
| A tapestry needle, |
| 3 screw eyes, |
| 2 ½ yards of strong twine, |
| A spool of No. 40 white cotton, |
| A needle, |
| Scissors. |
Very many good games can be played with
bean bags. The following is a simple one to
prepare.
Cut from blue gingham three pieces, each five inches wide by twelve
long. Other pieces of the same size are cut from red, yellow and green
gingham—three of each colour. These pieces are made up into bags
by doubling them and stitching up the sides with strong thread;
leaving one end of each open. This will give a small girl something to
do for more than one rainy day.
When they have all been stitched, fill each bag half full of small,
white beans, turn in the edges of the open end and sew it up, over and
over, with strong thread. Be very careful to sew the seams securely, for
if you do you will have a good, durable bag instead of one from which
the beans are always dropping.
The other part of the game is a large ring of rattan ten inches across,
which is made as follows:
Soak a piece of No. 6 rattan in water for a few minutes. While you are
waiting for it to get pliable thread a tapestry or darning needle with
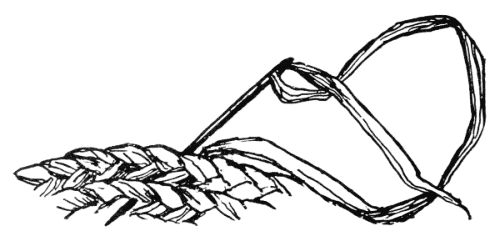
red raffia. Whittle an end of the rattan into a long point. Next coil
the rattan into a ring, ten inches across; lay the end of your raffia,
with its tip turned to the right, on the rattan ring and bring the
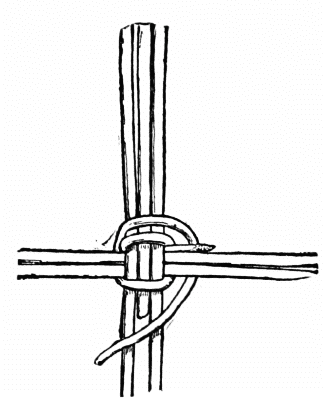
needle, threaded with raffia, around and over the ring. The raffia is
then brought under the long end of rattan, around it and down under the
ring, binding the second coil of rattan to the first with what is called
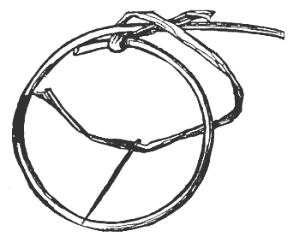
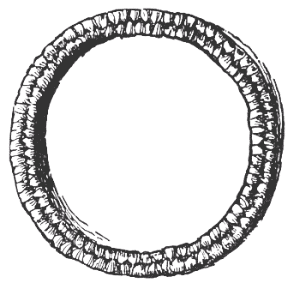
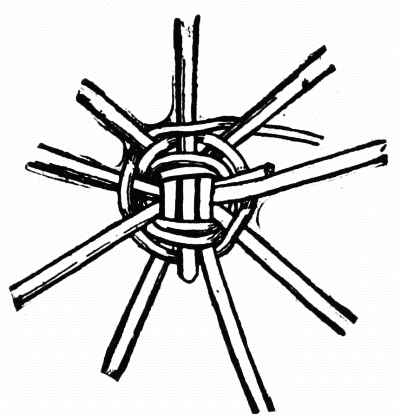
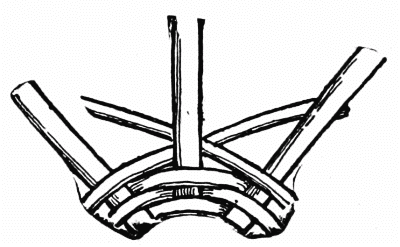
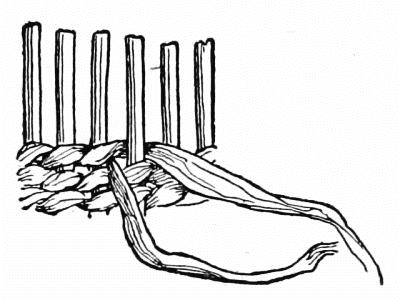
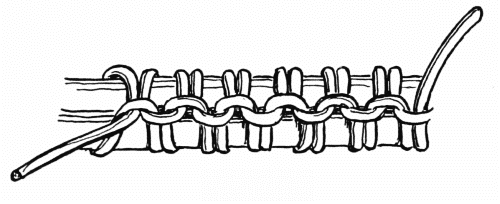
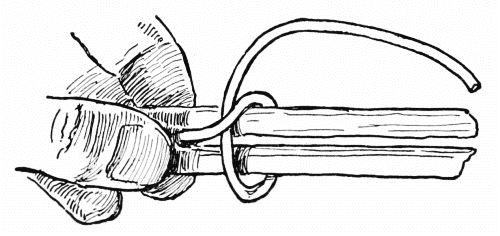
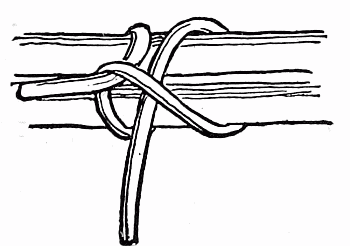
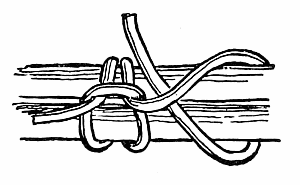
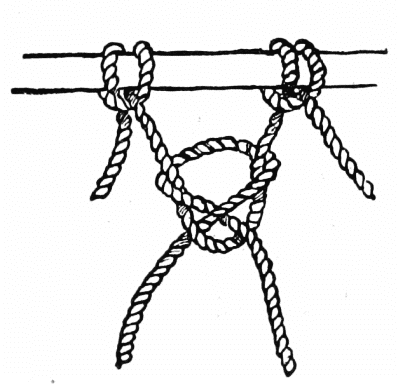
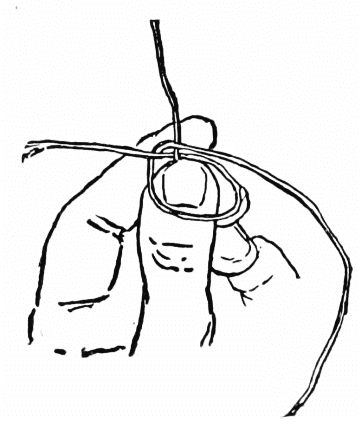
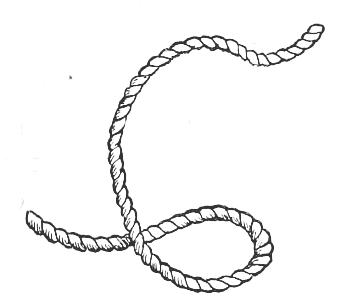
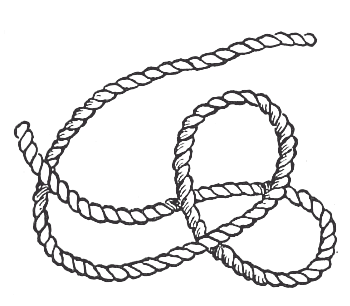
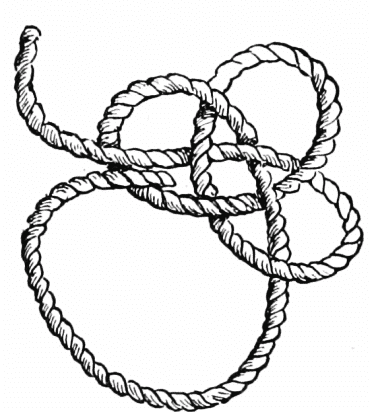
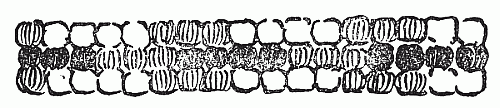
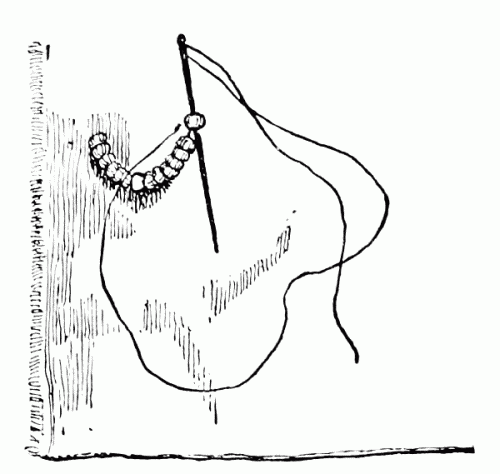
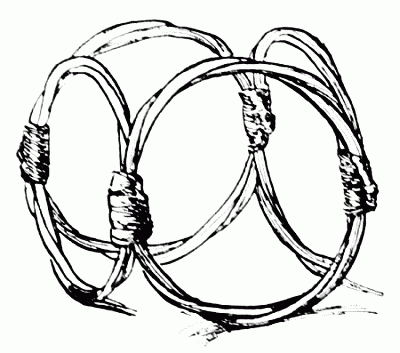
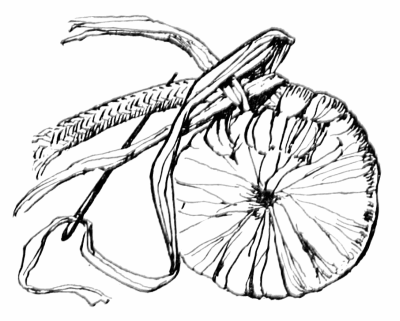
a "Figure Eight" stitch (see Fig. 1). Hold the ring firmly in your left
hand while you sew with the right. First under and around the lower
coil, then up, under and around the upper one. It is pretty work,
besides making such a firm, light ring.
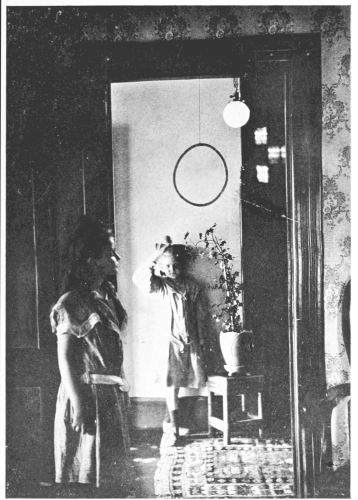
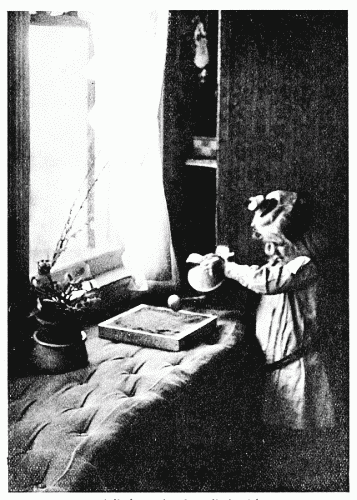
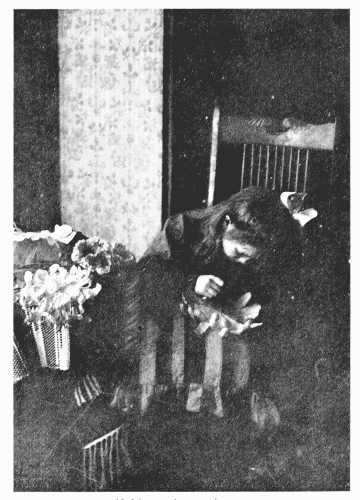
Playing the bean-bag game
When you have bound the second coil to the first almost all the way
round the ring, cut the rattan so that it will overlap the beginning of
the ring about an inch, and whittle it to a long, flat point. Continue
the Figure Eight stitch as far as you can, then bind the raffia round
and round the ring, and sew back and forth through the raffia covering
till it is secure. You can then cut it close to the ring.
Fasten a screw eye at the top of the frame of the playroom door and one
on each side of the doorway, on the edge of the frame, four feet
and a half from the floor.
Tie a piece of strong twine, about a yard long, at the top of the ring
and another, three-quarters of a yard, on each side. Fasten the upper
string to the screw eye above the doorway so that the ring will hang
with its lower edge about four feet from the floor. Tie the other
strings through the screw eyes to right and left of the doorway. The
game is now complete. From two to four children can play it. Each has
three bean bags of one colour and takes his turn at throwing them
through the ring, standing on a mark eight feet from the doorway. One
player keeps the score, and whenever a bean bag is sent through the ring
the child who threw it is credited with five points. The one who first
succeeds in making fifty points is the winner.
| Materials Required: | A large blank book with a stiff cover, and preferably with unruled pages, |
| A number of old magazines, |
| Some pieces of wall paper the size of the book's pages, |
| Several pieces of lace or other fancy paper, |
| A tube of paste, |
| Scissors. |
Any little girl who is looking for a home for a family of paper dolls
will find a book the very best kind of a house for them. And then such
fun as it will be to furnish it! First comes the house hunting. A large
new blank book with unruled pages would be best of all, and that is what
we want if we can get it, but of course all doll families cannot live in
such luxury. An old account book with most of its pages unused will make
an excellent house. I have even known a family of dolls to be cheerful
and happy in an old city directory.
It will be easy to find furniture in the advertising pages of
magazines, rugs can be cut from pictures in the same magazines and bits
of wall paper are used for the walls of the book house. Tissue paper
of different colours and papers with a lace edge make charming window
curtains, while thicker fancy papers may be used for portieres. On the
cover of the book a picture of the house, or just the doorway, may be
pasted. The first two pages are of course the hall. For this you will
need a broad staircase, hall seat, hardwood floor and rugs, with perhaps
an open fireplace or a cushioned window seat to make it look hospitable.
Try to find furniture all about the same size, or if you cannot
do this put the smaller pieces at the back of the room and the larger
ones toward the front.
Next there will be the drawing room to furnish, then the library, the
dining room and pantry, not forgetting the kitchen and laundry. Use two
pages for each room, leaving several between the different rooms, so
that the book shall not be too full at the front and empty at the back.
If it does not close easily remove some of the blank pages. Cut out the
different pieces of furniture as carefully as possible, paste them in as
neatly as you can, and you will have a book house to be proud of.
Flowered papers will be the best for the bedrooms, or plain wall
papers in light colours; and with brass bedsteads, pretty little
dressing tables and curtains made of thin white tissue paper (which
looks so like white muslin), they will be as dainty as can be. Now and
then through the book it is interesting to have a page with just a bay
window and a broad window seat with cushions and pillows—as if it
were a part of a long hall. Hang curtains of coloured or figured paper
in front of it so that they will have to be lifted if anyone wants to
peep in. When you have finished the bathroom, playroom, maids' rooms
and attic there will still be the piazza, the garden,
the stables and the golf course (covering several pages), to arrange. If
you have a paint box and can colour tastefully you will be able to make
your book house even more attractive than it is already.
| Materials Required: | A pasteboard box, about 3 by 6 inches, |
| Some old white pasteboard boxes with a glossy finish, |
| A box of paints, |
| 3 unused postal cards, |
| A tube of paste, |
| Pen and ink, |
| Scissors. |
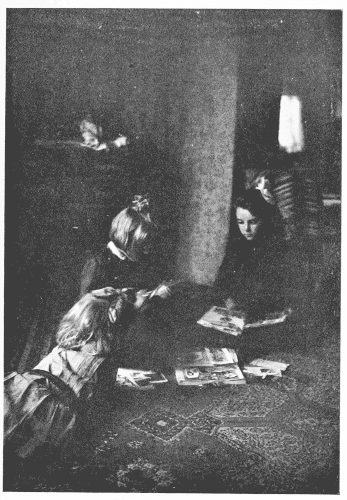
This is a fine game for rainy days. Any boy can make it and if he
likes to use pencil and paint brush he will find it as interesting to
make as to play with. Get a small pasteboard box about six inches long
by three wide and an inch deep—such as spools of cotton come in.
Cover it with white paper, pasting it neatly and securely. Then draw and
colour on the lid a mail bag, which should almost cover it—either
a brown leather sack or a white canvas one with "United
States Mail" on it in large blue letters. Do not
forget to draw the holes at the top of the bag and the rope which passes
through them to close it. You have now something to hold the counters
for the game. These are made to look like letters and postal cards.
To make the letters, rule a set of lines three-quarters of an inch
apart, across a box or cover of shiny white cardboard. Then another
set, crossing the others at right angles. These should be an inch and
a quarter apart. The postal cards are ruled in the same way (on real,
unused postal cards), so as to make oblong spaces. Cut these out with
a sharp pair of scissors. There should be thirty cardboard pieces and
at least twenty-five of the postal cards. Now draw on the cards, with
a fine pen and black ink, marks like those on a postal card—the
stamp in the corner, the lettering and the address. Make pen lines on
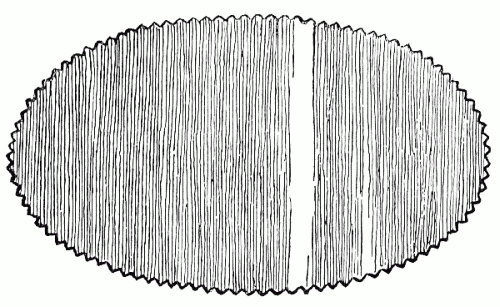
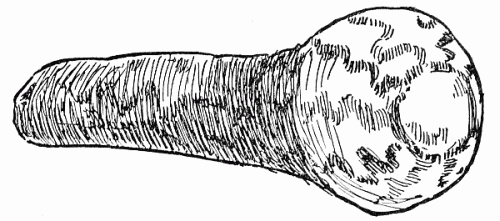
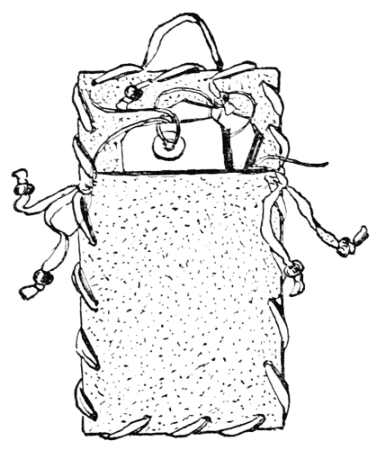
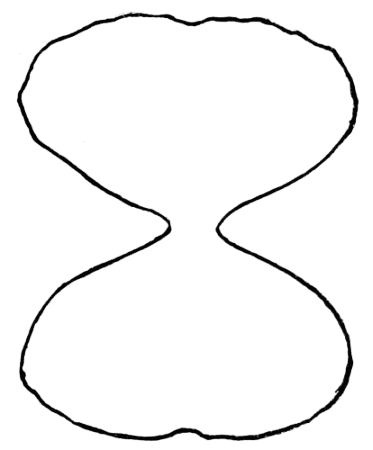
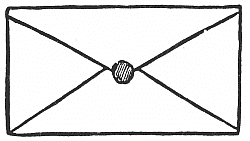
all of the pasteboard letters like Fig. 2 and paint a tiny red dot
on each to look like sealing-wax. On the reverse side of one write
something to look like an address, and paint in large letters "D.L.O.,"
(to stand for Dead Letter Office) in the corner. Six other letters are
also addressed in the same way, but have instead of "D.L.O." a red stamp
and a blue one, the latter wider than it is high, to represent a Special
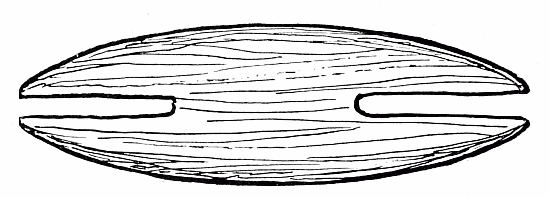
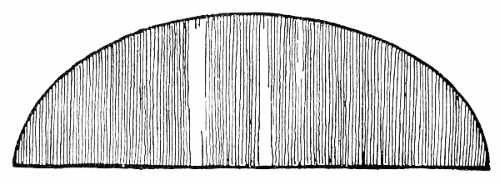
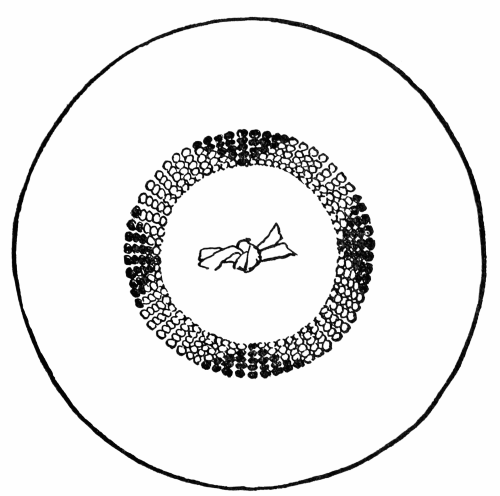
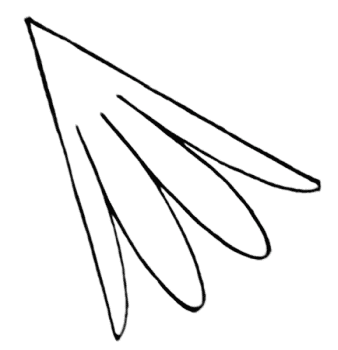
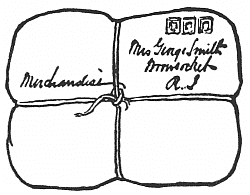
Delivery stamp. Nine pieces should also be cut from brown cardboard in
the shape shown in Fig. 3 to represent packages. Paint three red stamps
in the corner of each of these.
Two or more persons can play this game. When the pieces are equally
divided among the players, the one on the right of the dealer throws
a piece on the table, saying as he does so, "I send a letter to
B——," for example, and then counts five, not running the
numbers in together, but as deliberately as a clock ticks. Before he
has stopped counting, the player on his right must name a city or town
beginning with B. If he succeeds in doing this he wins the piece,
otherwise it goes to the player who threw it. When all the pieces have
been played each player counts his score.
The value of the pieces is as follows: Each postal card counts one,
each letter two, each package six. The Special Delivery letters are
worth ten points each, and the person who is so unfortunate as to have
the letter with "D.L.O." upon it loses ten points from his score.
| Materials Required: | A flour-barrel top, |
| ¾ yard of yellow cheesecloth, |
| 5 large wire nails, |
| 3 lengths of No. 4 rattan, |
| A bunch of red raffia, |
| A bunch of green raffia, |
| A bunch of yellow raffia, |
| A tapestry needle, |
| Some small tacks, |
| A hammer, |
| A tube of glue, |
| A sheet of note paper. |
Boys and girls will enjoy this game, and both can help in making
it. The materials are simple and easily obtained, which is also an
advantage. First of all we shall need a flour-barrel top. This
should be covered with yellow cheesecloth drawn smooth and tight and
tacked in place along the outer edge. Measure with a rule to find the
exact centre and make a pencil mark on the cheesecloth at that point.
Another mark is made above this one, half way between it and the edge. A
third mark is placed at the right of the middle one and half way between
it and the edge, as well as one to the left and one below it at the same
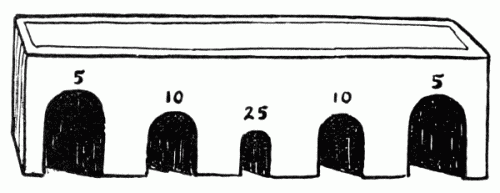
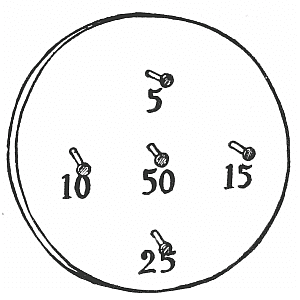
distance from the centre. A large nail is driven into the barrel top at
each of the five marks (see Fig. 4). Two screw eyes are then put in at
the top, about a foot apart, so that it can be easily hung. Next draw on
note paper that is not too stiff the figures 5, 10, 15, 25 and 50. Make
them about an inch high and quite thick and go over them with ink. With
a small pair of scissors cut out these numbers and paste each under a
nail, as shown in Fig. 4.
Next there are the rings to be made. Follow the directions given on
pages 6 and 7, using No. 4 rattan instead of No. 6, and these rings
should only be two and a half inches across. Make three rings of each
colour, green, red and yellow, and the game is complete.
Hang the barrel top on the wall or against a screen and see who can
throw the most rings on the nails standing six feet away. Each player
has three rings of a different colour, and each in turn throws his rings
at the mark. When he succeeds in tossing a ring on one of the nails he
scores as many points as the number under the nail indicates.
| Materials Required: | A number of old corks, the larger the better, |
| A tube of glue, |
| A penknife, |
| A piece of pasteboard a foot square, |
| A sheet of dull green tissue paper. |
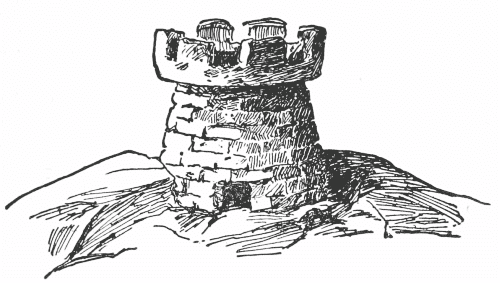
Such fascinating castles can be made from old corks—or if
you live near a cork factory you can get plenty of odds and ends of
cork bark that will be even better for the purpose. With a penknife
cut small bricks, half an inch long by quarter of an inch wide and an
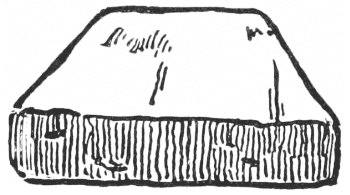
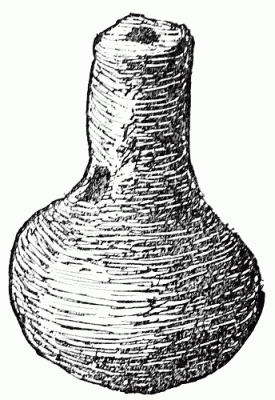
eighth of an inch thick. If you are planning a round tower, such as
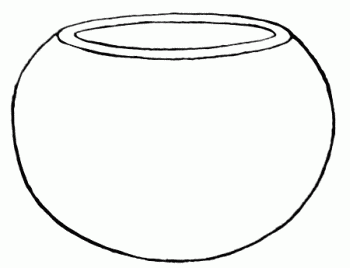
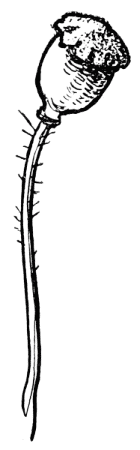
is shown in Fig. 5, make the bricks in the wedge shape shown in Fig.
6. Cut them as nearly alike as possible, but it will do no harm if
they are not perfectly regular; the castle will only look more ancient
and interesting. It is wonderful how much the bits of cork look like
stone.
When you have a good supply of bricks ready you may begin to build.
Use glue to stick the blocks together; the kind that comes in a tube is
the easiest and cleanest to handle. Leave spaces for doors and windows,
and for the roof use a large flat cork from a preserve jar. Mark it
off into battlements such as are shown in Fig. 5, and cut them out
carefully. Then glue the roof securely on the walls of the castle.
Where shall we place it now that it is made? A green mountain side
is a good location for a castle, and it can be made quite easily. Bend
a piece of pasteboard about a foot square (an old box cover will do)
into dents that will almost break it, these look quite like hills and
valleys and sharp crags, especially when they have been covered with
green tissue paper. To do this spread a layer of paste or glue all over
the pasteboard and then press the paper upon it. If it wrinkles, so much
the better, for it will look more like grass and growing things.
| Materials Required: | A piece of fine straw about 4 x 6 inches, |
| Some scraps of plain-coloured china silk, |
| ½ yard of straw-coloured ribbon, ¼ of an inch wide, |
| ½ yard of narrow ribbon the colour of the china silk, |
| A spool of straw-coloured sewing silk. |
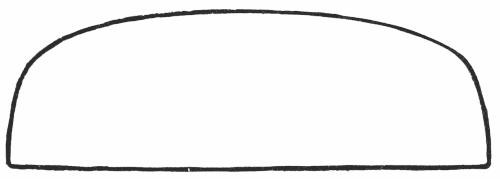
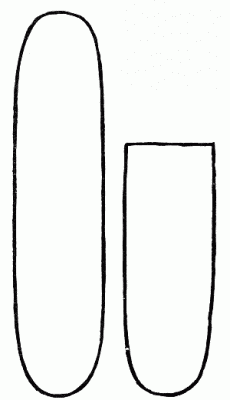
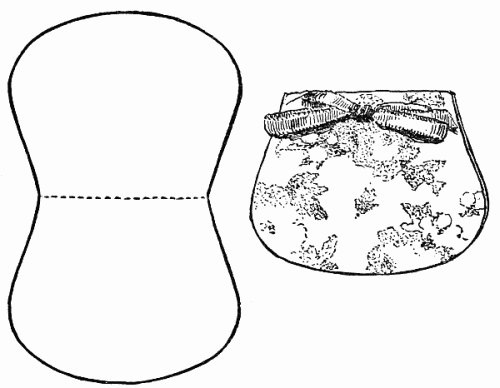
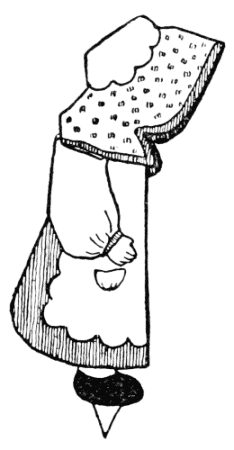
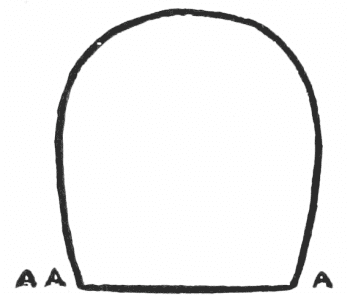
The daintiest little Shaker bonnet may be easily made by a little
girl to fit one of her dolls. From the brim of an old leghorn, or
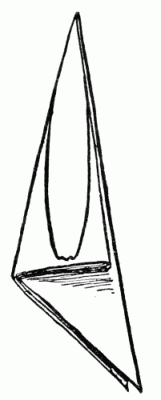
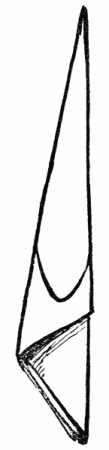
other fine straw hat, cut two pieces, the shapes shown in Figs. 7 and
8. For a doll six or eight inches long the front piece will need to
be about five inches long by an inch and a half wide. Bind the curved
edge of the front piece with the straw-coloured ribbon, sewing it
through and through with small stitches, using straw-coloured sewing
silk. Sew one edge of a piece of the straw-coloured ribbon close to the
curved edge of the back piece from A to AA (see Fig. 8). Mark, with a
pencil, a dot at the middle of the curved edge of the back portion and
one at the middle of the straight edge of the front part. Pin the two
parts together at these dots and sew the edges together. In doing this
you will have to turn back the ribbon which edges the back portion. Next
bring the ribbon forward to cover the rough edges of the straw where
the two parts join and sew its loose edge along on the front portion.
Cut a piece of China silk seven and three-quarters inches long by an
inch and three-quarters wide. Make a narrow hem all around it. A tiny
pencil mark is then made on the lower edge of the back piece and another
at the middle of the silk strip. Gather the silk just below the hem on
the upper edge and sew it to the lower edge of the bonnet at the back.
Stitch a piece of narrow ribbon eight inches long at each side of the
front, for strings, and the bonnet is done.
| Materials Required: | A strip of thick leather, 7 inches long by 2 wide, |
| A piece of heavy linen string a foot long, |
| A knife. |
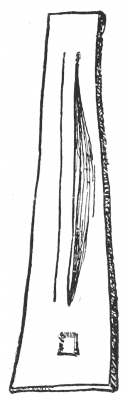
With a sharp knife, a small strip of leather and a bit of strong
string any boy can make this simple puzzle. It is easier to make,
however, than it is to do, as the boy's friends will discover. Fig. 9
will show how it is made. A strip of leather five and a half inches
long, an inch and a quarter wide at one end and five-eighths of an inch
at the other, is first cut. Then, starting at about five-eighths of an
inch from the narrow end, cut with a sharp knife two slits down the
middle of the piece three-eighths of an inch apart and three inches
long. At three-eighths of an inch from the wide end a small piece,
one-quarter of an inch square, is cut out of the middle of the strip
(see Fig. 9). From the scraps of leather remaining cut two pieces, each
one inch long by five-eighths of an inch wide. Make a hole in the
middle of each. Then pass a piece of stout linen cord eleven inches long back
of the long, open strip in the large piece of leather, leaving the ends
of equal length. Pass both ends down through the square hole and tie
each of them securely through the hole in the middle of one of the small
pieces of leather. This completes it.
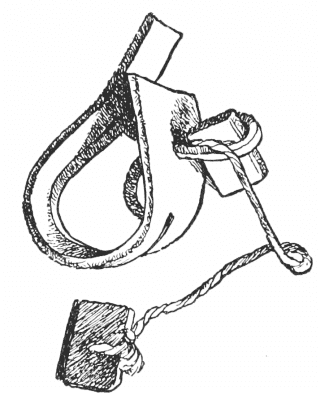
The object is to try to get the string, with the small piece of
leather at either end, off the large piece of leather without cutting or
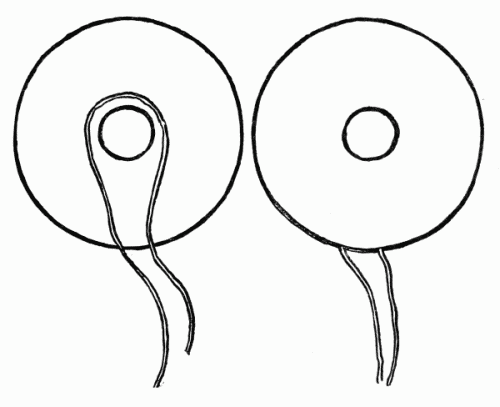
untying it. The only way to do this is shown in Fig. 10. Holding both
ends of the string, close to where it passes back of the narrow strip
in the middle of the large piece of leather, pull the strip out through
the small square hole. One of the small pieces of leather can then be
slipped through the loop thus formed, releasing the string.
| Materials Required: | An oblong pasteboard box an inch or more |
| longer than the doll it is to hold, |
| ½ yard of flowered or striped muslin, |
| ¼ yard of blue and white seersucker or other cotton, |
| Some cotton or wool wadding, |
| ½ yard of thin white cotton cloth, |
| ¼ yard of outing flannel, |
| ¼ yard of white piqué. |
Almost any little girl who chooses to do so can make this dainty bed
for one of her small dolls. She will only need an oblong pasteboard box
with a cover, and large enough to hold the doll comfortably. If mamma
will let her have some pieces of cotton, flowered, striped and plain and
a little cotton or wool wadding, she will have all the materials she
needs.
First cut from blue and white striped cotton a bag the length and
width of the box. Stitch it neatly together around three sides, turn
it right side out and fill it with cotton or wool wadding. Turn in the
edges on the fourth side and sew them together over and over. With a
darning needle threaded with blue cotton or silk the mattress can be
tufted here and there. The needle is first run through to the under
side, then one little stitch is taken, bringing the thread back again
to the right side, where the two ends are tied tightly together and cut
close to the knot. If these tufts are made at equal distances, say one
inch apart, all over the mattress it will make it look very "real."
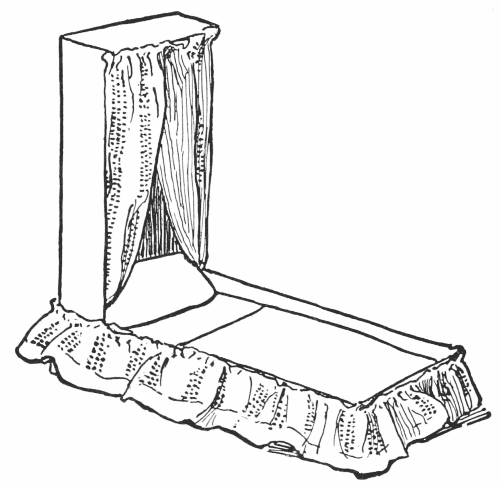
The pillow is made in the same way as the mattress, except that it
is not tufted. Cut the sheets and pillowcase from thin white cotton,
allowing enough for hems. Make the pillowcase a quarter of an inch
wider and about an inch and a quarter longer than the pillow. Stitch it
around both sides and on one end and hem the other end. Tiny blankets
may be cut from outing flannel, and a spread made from a piece of white
piqué or other thick white wash material. The bed can now be made up,
but it will look very plain. A fluffy canopy and valance (or flounce)
of flowered or striped white muslin will improve it wonderfully. The
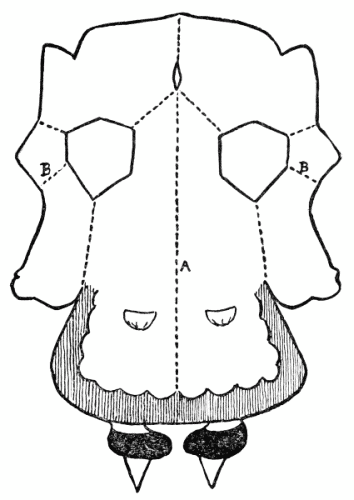
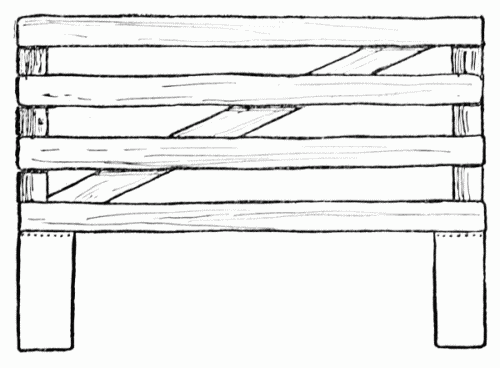
cover is set on end and the head of the bedstead is pressed into it (see
Fig. 11), making a frame for the canopy. Measure from the front corner
of this frame to the middle of the front and cut a piece of muslin half
again as wide as this measurement and long enough to reach from the top
of the frame to the bottom of the bed. Another piece the same size is
cut, and then both are turned in and gathered at the top, hemmed on the
other edges and sewed into place on the top edge of the canopy frame, so
that the two will meet in the middle. They are both looped back against
the front edge of the frame, see Fig. 11, and sewed there securely. The
valance or flounce around the lower part of the bed is cut wide enough
to allow for hemming at the bottom and to turn in at the top. It should
be long enough to reach once and a half around the bed. Turn in the
upper edge of the valance, gather it to fit the bed and pin it in
position. Then sew it with a strong needle and coarse thread on to the
box through and through. This makes as comfortable and pretty a bed as
dolly could wish.
| Materials Required: | A piece of white chalk, |
| A piece of sheet lead, 2 by 2 inches, and as |
| thick as a fifty-cent piece, |
| 3 or 4 strands of scarlet raffia, |
| A tapestry needle, |
| A gimlet. |
This is a delightful game for a rainy day, and the preparations
for it are very simple. In fact, when you have fashioned the disk of
lead with a raffia covering, there is nothing to provide but a piece
of chalk. You can buy, from almost any plumber or tinsmith, for a few
cents, a scrap of sheet lead two or three inches square and about as
thick as a half dollar. Upon this piece of lead lay a half dollar, draw
around it with a pencil and cut out the circle with a sharp, strong
pair of scissors. It cuts as easily as cardboard of the same thickness.
Bore a hole one-quarter of an inch across through the centre
of the disk with a gimlet or sharp-pointed awl. It is possible to
use the disk just as it is, but it makes less noise if it is covered
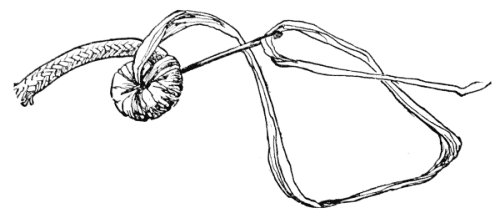
with raffia. To do this, thread a worsted (or tapestry) needle with
raffia—the grass-like material that you have seen used for making
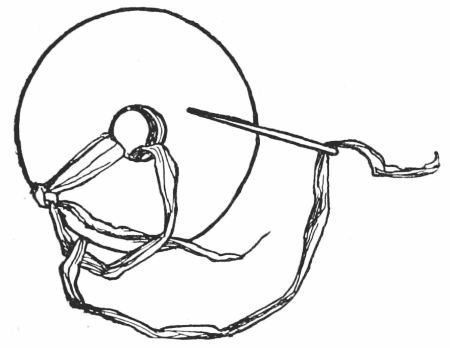
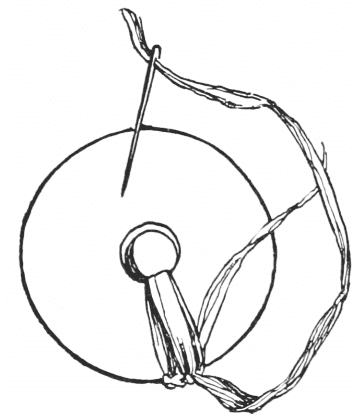
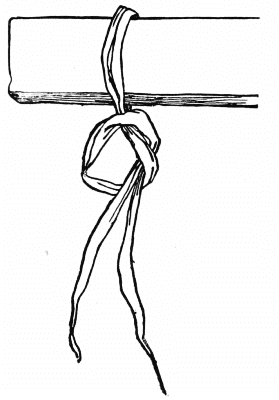
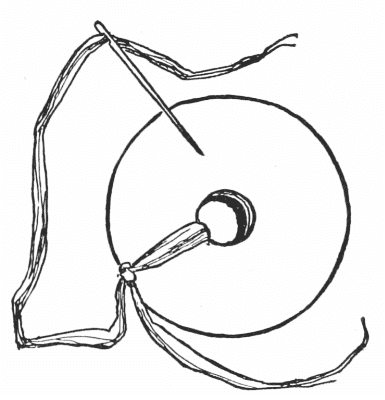
baskets. Tie the other end of the raffia through the disk, as shown
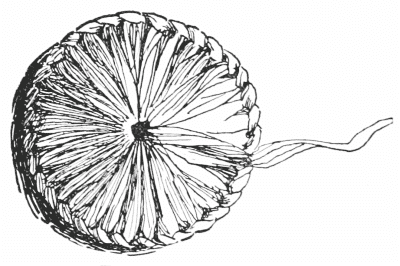
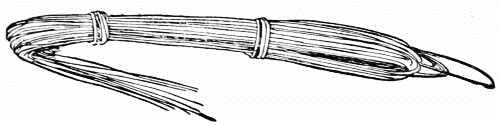
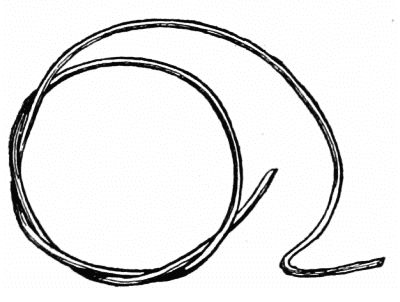
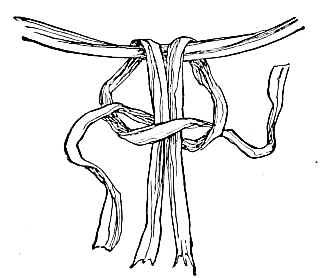
in Fig. 12 A, put the needle down through the hole in the centre, up
through the loop in the raffia (see Fig. 12 B) and pull your strand
up close to the edge. This will make a stitch like that shown in
Fig. 12 C—what sailors call a half hitch and mothers a buttonhole
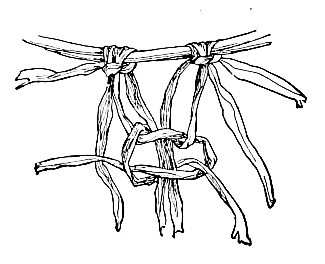
stitch. Make more of these stitches around the disk, until finally it is
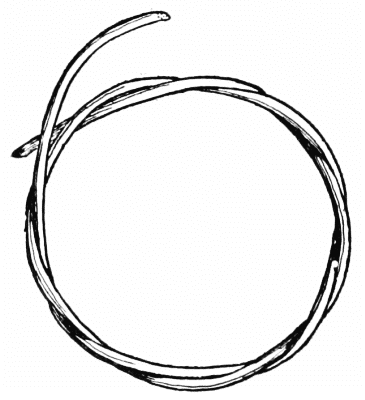
entirely covered (see Fig. 13). If the strand of raffia gives out before
the disk is covered sew the short end through the last two or three
stitches on the edge of the disk and start a new piece by bringing the
end through the last stitch on the edge. The short ends of both strands
should be covered with the buttonhole stitches as you go on.
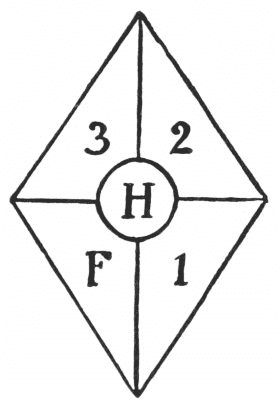
Now mark the diagram shown in Fig. 14 on the playroom floor with
chalk, making the diamond two feet long by a foot and a half wide. In
the centre of it is a circle, four inches across, which is home. Each
player takes his turn at throwing the disk, standing on a line eight
feet away. If he throws the disk into the space marked 1 he counts that
he has a man on first base; if on 2, that he has one on second; and if
on H, a home run is counted. If by chance with his first and second
throws he puts the disk into 2 and 3 and with the third throw sends it
into H he will have three runs to his credit. Should he throw the disk
into F he loses one point from his score, and when he has thrown the
disk outside the diamond three times he is out.
| Materials Required: | A small wooden frame, |
| A piece of cream-coloured canvas, |
| A ball of dull green worsted, |
| A ball of cream white worsted, |
| A steel crochet needle, No. 2. |
Hooked rugs such as our grandmothers used to make are great fun to
do. Why should not a little girl make one of finer materials for the
floor of her doll's house? Either an empty slate frame or a wooden frame
such as is sold by dealers in kindergarten supplies for chair caning
will do very well to hold the canvas of which the rug is made. Instead
of strips of woolen we shall use worsted of various colours, and a
strong steel crochet needle will be needed for "hooking."
When you have decided upon the size of the rug you wish to make cut
a piece of canvas an inch wider and longer than it is to be, and make a
hem a quarter of an inch wide all around it. With a needleful of white
linen thread sew the rug into the frame, taking the stitches through the
edge of the canvas and around the frame until it is securely fastened
in. Suppose a green rug is planned, with a group of white stripes at
each end. It will be well to mark on the canvas where the stripes are
to run before beginning the work. The worsted should be wound into
balls.
Starting with an end of the green worsted, at the lower right side
of the frame, hold it under the rug and hook it up through the canvas
with the crochet needle. Draw up a long enough end so that it can
be cut off when the rug is finished and leave a thick texture. Do not
make all the loops the same height, for if now and then one is left too
low to cut with the others it will make the rug wear better. One after
another of these loops is drawn through the canvas, leaving two threads
of canvas between every two loops, in a straight line across the rug.
When the edge of the rug is reached a row is made above the one just
finished, bringing the worsted from left to right. So it goes on till
the rug is finished, only changing the ball of green worsted for a white
one when it is time to make the stripes. After the hooking is done, the
tops of the longer loops are cut off with a sharp pair of scissors, so
as to make a smooth, soft rug. It will wear better if it is lined.
When you have completed this rug you may want to make others with
patterns woven into them. Draw the pattern on the canvas with a soft
lead pencil and it will be quite easy to work.