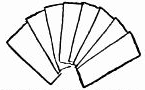
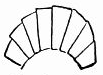
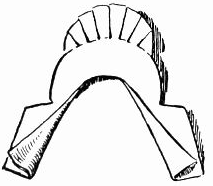
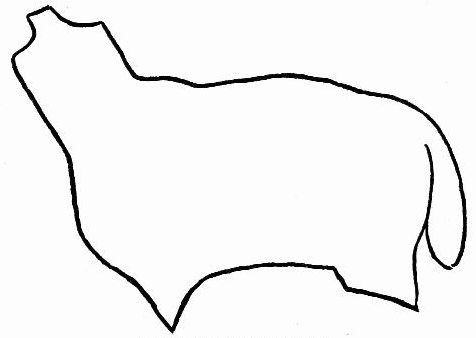
A TOY COLONIAL KITCHEN WITH FAC-SIMILE
COLONIAL FURNISHINGS.
WOULD it not be
fun to see a yoke
of real live oxen
come slowly walking
into the kitchen
dragging a load of
logs? That is what
many of the colonial
boys and girls saw
every day, and frequently the boys helped their fathers
cut the logs which were for the big kitchen fireplace. And
such a fireplace! Large enough for the huge, roaring
fire and the chimney-seats also. These were placed close
against the sides of the opening, making fine places for the
boys and girls to sit and listen to thrilling tales of adventure
or delightful fairy stories.
The kitchen in those days was the chief apartment and
the most interesting room in the house. Who would want
to go into the stiff, prim "best room" when they could be
so much more comfortable in the spacious kitchen where
everyone was busy and happy, and where apples could be
hung by a string in front of the fire to roast and made to
spin cheerily when the string was twisted, that all sides
might be equally heated? Any girl or boy to-day would be
only too glad of a chance to sit on a log in front of such a
fire and watch red apples turn and sputter as the heat broke
the apple skin, setting free the luscious juice to trickle down
the sides.
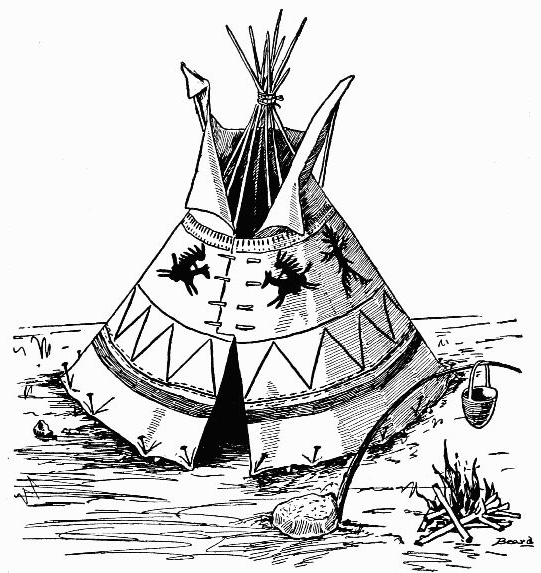
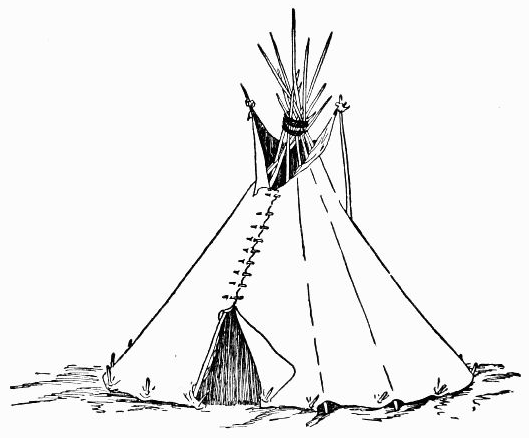
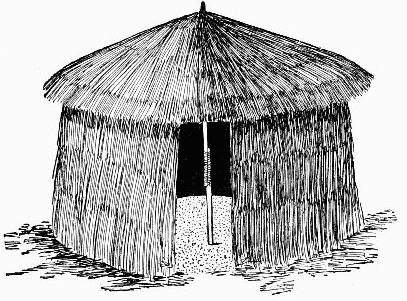
As the Indian's first thought was for shelter, and he put
up his wigwam, so the early settler's first thought was for
shelter, and he built, not a wigwam, but a log-house with a
kitchen large enough to serve as a general utility room. It
was filled with various things, and all articles in it were used
constantly. Everything not brought from the mother
country the settlers made by hand. The colonial kitchen
you can build may be of gray or white cardboard. Old
boxes, if large enough, will answer the purpose.
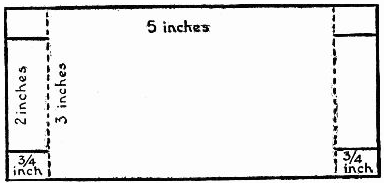
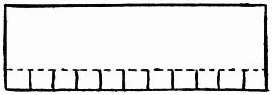
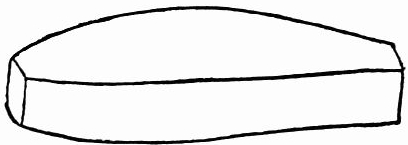
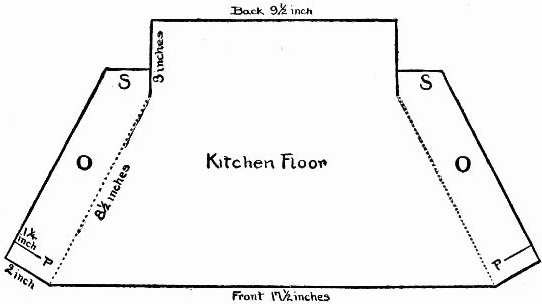 Fig. 205.—Kitchen floor.
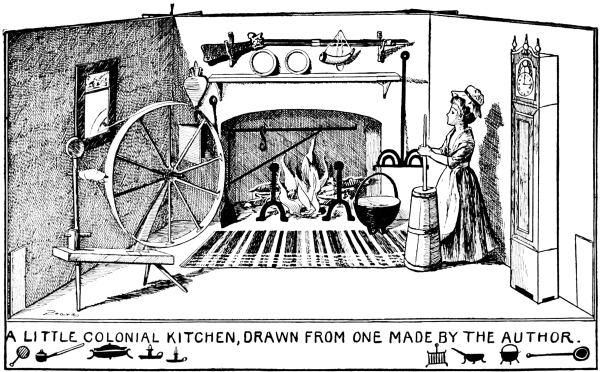
I will tell you exactly how I built the colonial kitchen
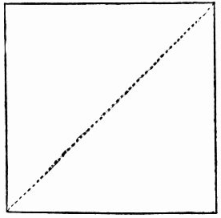
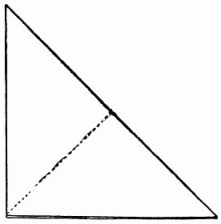
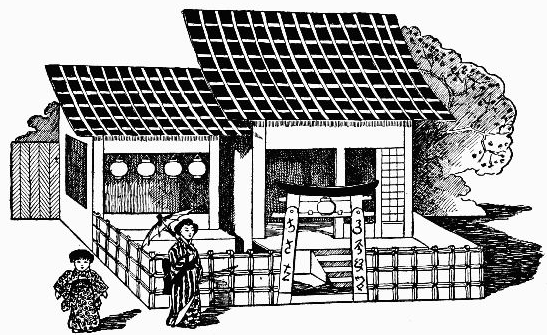
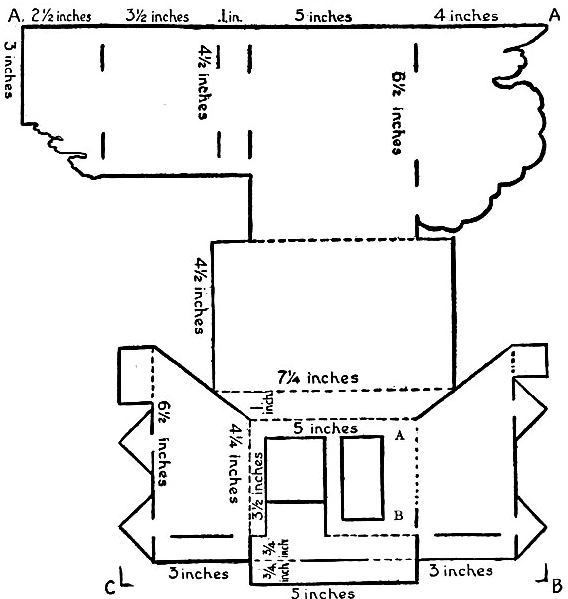
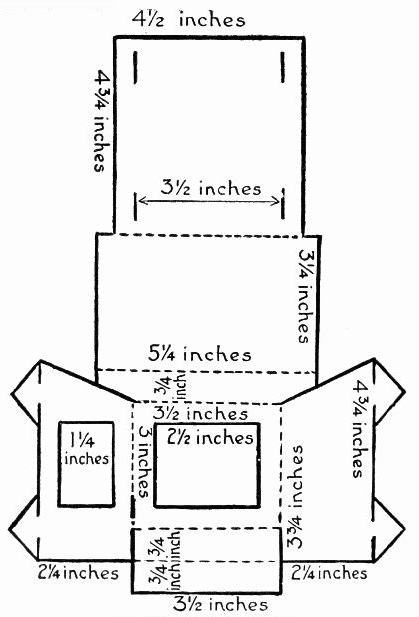
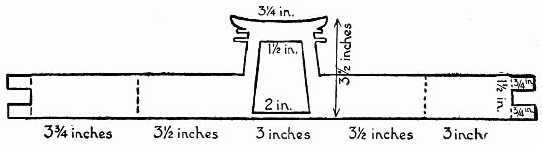
seen in Fig. 204. I made the floor (Fig. 205), the two side
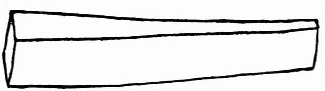
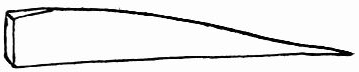
walls both alike (Fig. 206), the back wall (Fig. 207), and the
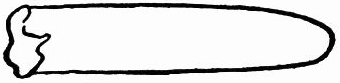
interior of the fireplace (Fig. 208) of light-gray cardboard.
I cut all the heavy
lines, scored and
then bent all the
dotted lines.
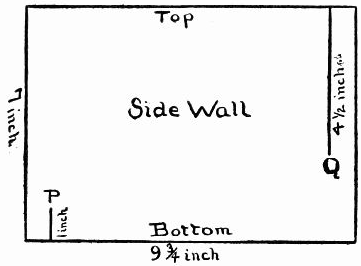 Fig. 206.—Side wall.
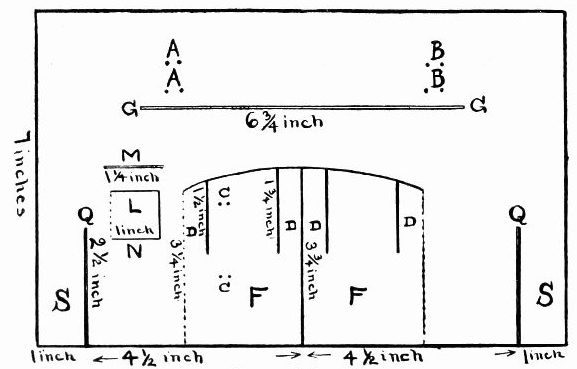 Fig. 207.—Back wall.
Now you do
the same thing.
Get your measurements
correct
and be careful to
make the lines
perfectly straight.
Before putting
the kitchen together,
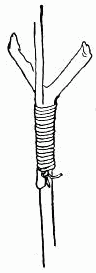
fasten the rustic brackets, cut from a branching
twig (Fig. 209), on the wall above the mantel-piece to support
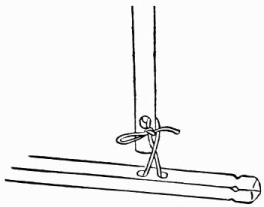
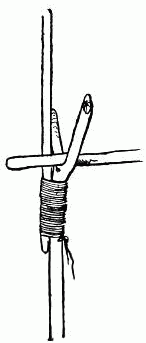
the flintlock gun. Take two stitches through the
wall around each twig, as shown in Fig. 210, at the dots
A and A and B and B (Fig. 207).
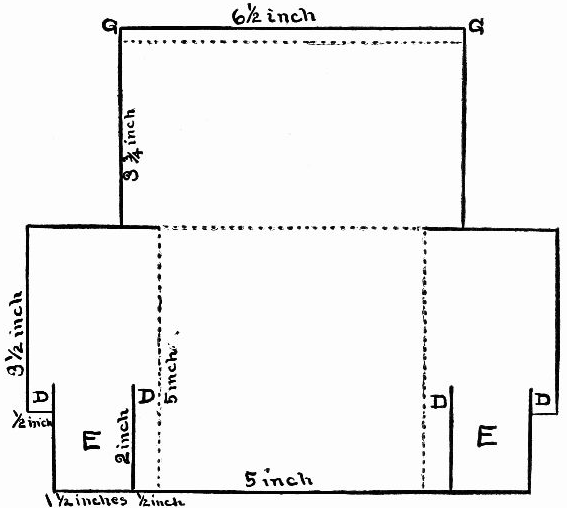 Fig. 208.—Interior of fireplace.
Every colonial fireplace boasted of
A Strong Crane
upon which to hang the pots and kettles over the fire.
One end of the crane was bent down and attached to the
side chimney wall by iron rings. These rings allowed the
crane to turn so that the extending iron rod could be swung
forward to receive the hanging cooking utensils and then
pushed back, carrying the pot and
kettles over the fire for the contents
to cook. The crane was black
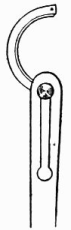
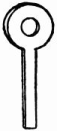
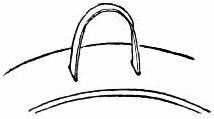
and of iron. A hair-pin (
Fig. 211)
makes a fine crane. Bend yours,
as shown in
Fig. 212, then with two
socket-rings made with stitches
of black darning-cotton fasten the
crane to the side of the chimney at
the dots C and C (
Fig. 207), and tie
a piece of the darning-cotton on the
little crane immediately below the
lower socket-ring; bring the thread diagonally across to
the top arm of the crane an inch and a quarter from the
free end and again tie it securely (
Fig. 213).
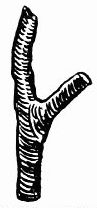 Fig. 209.—A forked
twig for the
bracket.
Fig. 209.—A forked
twig for the
bracket.
|
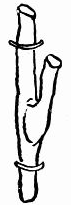 Fig. 210.—Put
the brackets
up in this way.
Fig. 210.—Put
the brackets
up in this way.
|
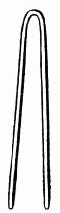 Fig. 211.—The
crane is made
of a hair-pin.
Fig. 211.—The
crane is made
of a hair-pin.
|
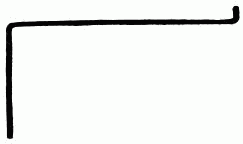 Fig. 212.—The crane.
Bend the two sides of
The Fireplace
F and F (Fig. 207) as in Fig. 213. Bend forward
the interior of the fireplace (Fig. 208) at
dotted lines, and
fit Fig. 208 on the
back of Fig. 207
to form the inside
of the fireplace
and the mantel-piece.
Slide the
slashed top strips of the sides of the fireplace D,D,D,D
(Fig. 207), back of the slashed strips D,D,D,D (Fig. 208),
which will bring the two centres E and E of the sides in
Fig. 208 behind F and F in Fig. 207, and will thus form two
layers on the sides of the chimney. Push the edge G and
G of Fig. 208 through the slit G and G in Fig. 207 to form
the mantel-piece, then bend down the edge of mantel-piece
along dotted line.
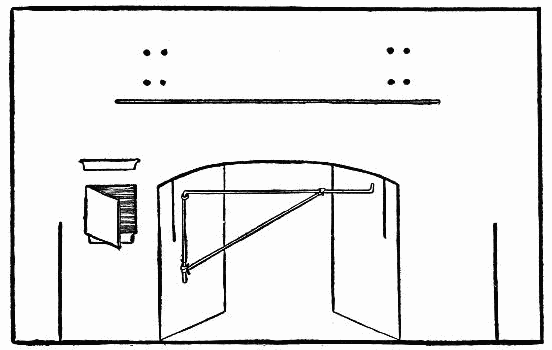 Fig. 213.—Back wall, showing crane hung and oven door open.
You must have
An Oven
at one side of the great fireplace for baking the wholesome
"rye and Indian" bread, and the delicious home-made apple,
pumpkin, rice and cranberry pies. In colonial days thirty
large loaves of bread or forty pies would often be baked at
one time, so spacious were the ovens. These side-ovens
used to be heated by roaring wood fires built inside of them
and kept burning for hours. When the oven was thoroughly
hot the cinders and ashes were brushed out and in went
the pies with a lot of little ones called "patties," for the
children. When these were cooked to a golden brown
each child was given his own piping hot "patty."
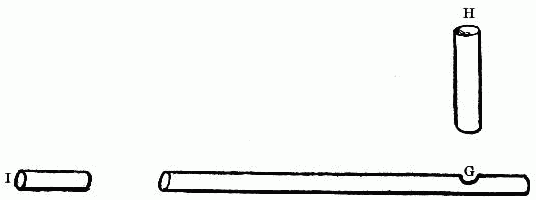
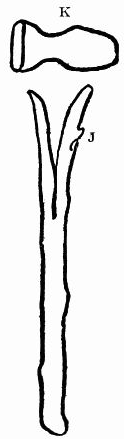
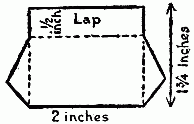
Make your box-like oven according to Fig. 214, cut the
heavy lines, score and bend the dotted lines. Bring the
side H to the side I; lap I over H so that the two slits, J
and J, will exactly fit one over the other; then bend the
back down and run the flap J on the back through the two
slits J on the side, and the flap K through the slit K.
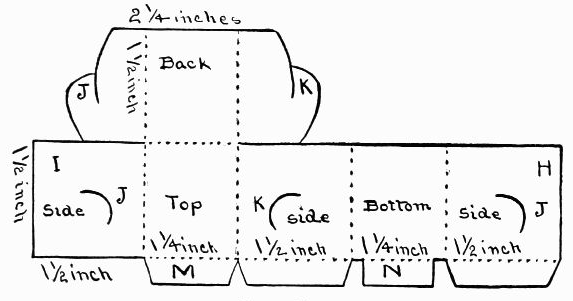 Fig. 214.—The oven.
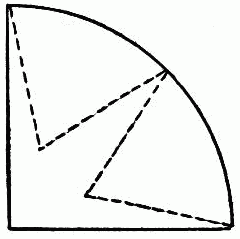
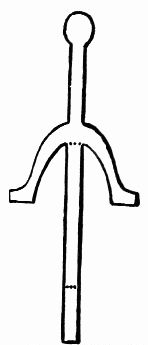 Fig. 215.—Pattern for
andiron.
Fig. 215.—Pattern for
andiron.
Adjust the oven back of the oven door L (Fig. 207), and
fasten it tight on the wall by sliding the flap M of the oven
(Fig. 214) through the slit M (Fig. 207) above the oven
door; bend it down flat against the wall. Bring the bottom
oven-flap N in through and over the lower edge of the oven
door-way N (Fig. 207) and bend that also flat against the
wall (Fig. 213). The two side oven flaps will rest against
the back of the wall on each side of the oven door-way.
Now that is finished firm and strong, and you can
Put the Kitchen Together
in a few moments. Lay the floor (
Fig. 205) down flat on a table; bend up the
two diagonal sides O and O, and slide
the slit P in the side wall (
Fig. 206) down
into the slit P of the floor (
Fig. 205),
bringing the wall (
Fig. 206) in front of
the upturned floor-piece O (
Fig. 205). In
the same way fasten the other side wall
on the floor. Slip the two slits Q and
Q of the back wall (
Fig. 207) down
across the top slits (Q,
Fig. 206) of the
side walls. While bringing the back
wall (
Fig. 207) down to the floor, slide
its outside strips S and S over and
outside of the upturned pieces of the
floor, S and S (
Fig. 205), to hold them in place.
As soon as the Indian's wigwam was up, he had a brisk
fire to cook by, for after shelter came food. The white
man did likewise after his house was built. Though he
had andirons to help with his fire, even then to
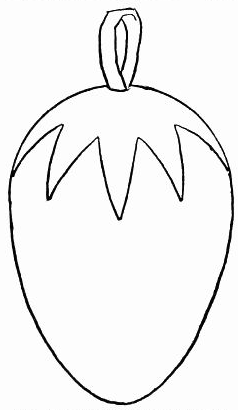
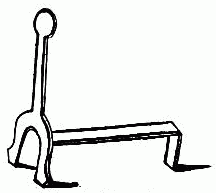 Fig. 216.—The andiron.
Lay the Fire
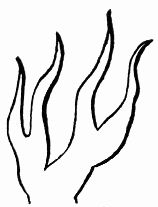 Fig. 217.—The flames.
in the immense fireplace required
some skill. Cut two
andirons of cardboard (
Fig. 215), bend at dotted lines, paint
black, and the
andirons will
stand alone and
look like real ones (
Fig. 216).
Cut from red, orange, yellow, and black tissue-paper
flames like Fig. 217; bend at dotted line and paste the
mingled flames one at a time and turned in varying directions
on a piece of cardboard made to fit the bottom of the
fireplace. Adjust the little black andirons
to the fire and glue them in place;
select a large log for the "back-log,"
and a more slender one to lay across the
front of the andirons. Place smaller
wood in between with the flames, and
scatter a few bits of black paper on the
hearth underneath to appear like fallen
charred wood. When finished the fire
should look as if it were actually
sparkling, roaring, and blazing (Fig. 218).
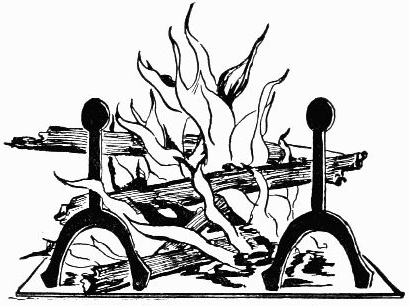 Fig. 218.—The flames leap up the chimney.
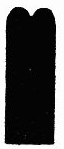
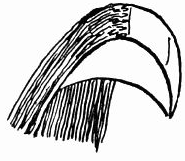
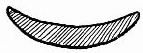
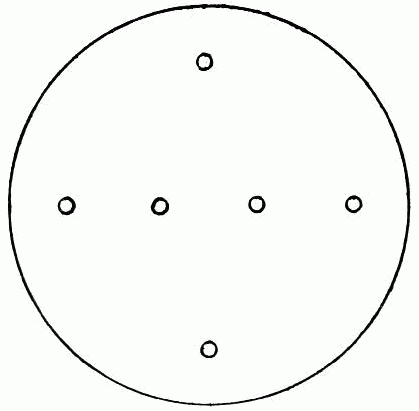
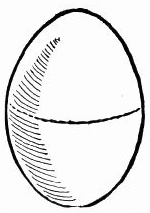 Fig. 219.—Cut the shell
in half.
Fig. 219.—Cut the shell
in half.
Your fire is ready, so you must hurry and get the
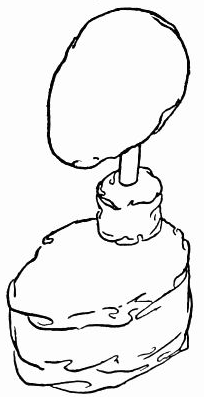
Great Iron Pot
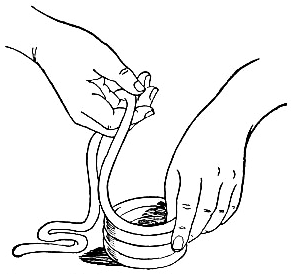
to hang over the flames. Break an egg in halves as indicated
by dotted lines in
Fig. 219; even off the edge of the
larger half shell with a pair of scissors, paste a strip of
tissue-paper over the edge and glue on a stiff paper handle
(
Fig. 220). Cut three pieces of heavy, stiff paper like
Fig. 221, bend at dotted line and pinch the two lower corners on
part T together to form the pot legs (
Fig. 222). Turn the
egg-shell upside down and fasten the legs on by gluing the
flap U (
Fig. 221) on the bottom of the shell; the legs should
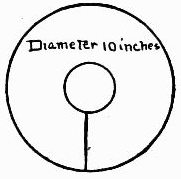
enable the pot to stand upright. Turn
the egg-shell into iron by painting the
handle and outside of the pot jet black
(
Fig. 223). Swing the crane forward,
hang on the pot, pretend you have something
to cook in it, then move the crane
back over the fire.
 Fig. 220.—A strip of paper for the handle.
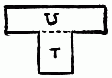 Fig. 221.—Cut the pot
leg like this.
Fig. 221.—Cut the pot
leg like this.
|
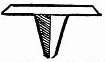 Fig. 222.—Bend the pot
leg like this.
Fig. 222.—Bend the pot
leg like this.
|
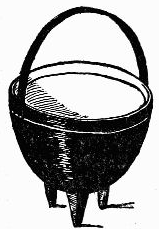 Fig. 223.—Paint the pot
black.
Fig. 223.—Paint the pot
black.
|
Remember all the time you are playing,
that this is the way your colonial
ancestors cooked.
In days of long ago, they had many
other
Odd Utensils
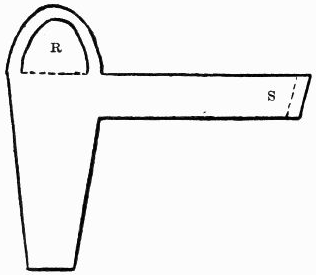
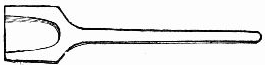
One of the easiest for you to make is the long-handled iron
shovel called a "peel" (Fig. 224), used to place bread and
pie in the great oven. Cut the peel from stiff cardboard,
paint it black and stand it up by the side of the chimney
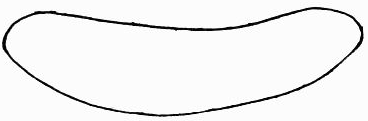
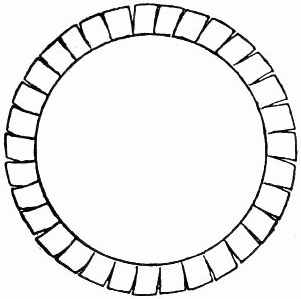
(Fig. 204). Trace the toaster (Fig. 225) on cardboard, paint
it black, bend up the four semicircular rings and bend
down the two feet, one on each side (Fig. 226).
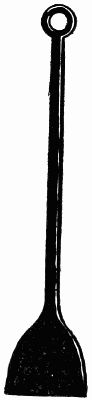 Fig. 224.—A queer
shovel called the
"peel."
Fig. 224.—A queer
shovel called the
"peel."
|
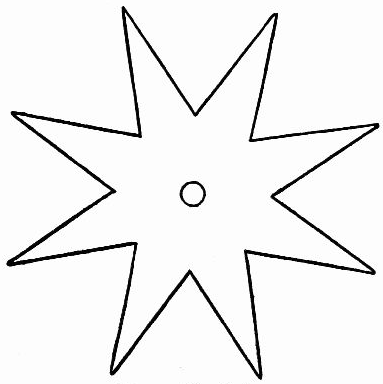
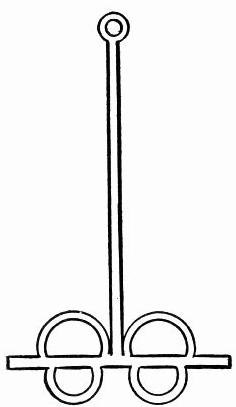 Fig. 225.—Make the toaster by this
pattern.
Fig. 225.—Make the toaster by this
pattern.
|
Chicken and other eatables were placed between the
front and back rings on the toaster and broiled before the
fire, which was so hot that it was necessary to have
long handles on all cooking utensils.
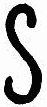 Fig. 227.—Make
a pot-hook
like this.
Fig. 227.—Make
a pot-hook
like this.
|
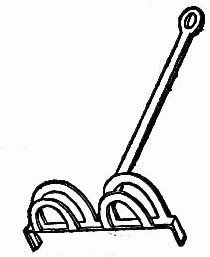 Fig. 226.—The toaster.
|
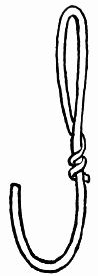
Several pieces of iron of varying
lengths, generally made into the shape
of the letter S, were called "pot-hooks";
they hung on the
crane. Make two or three
pot-hooks of cardboard
and paint them black
(Fig. 227). When you
are not using the little toaster, bend
up the handle and hang it on a pin
stuck in the wall (Fig. 204).
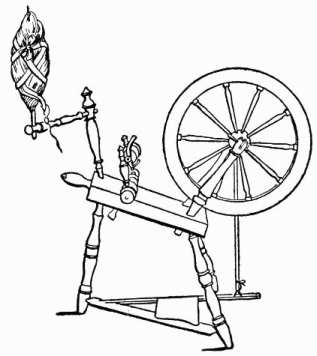
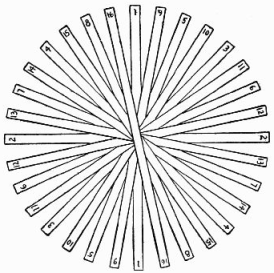
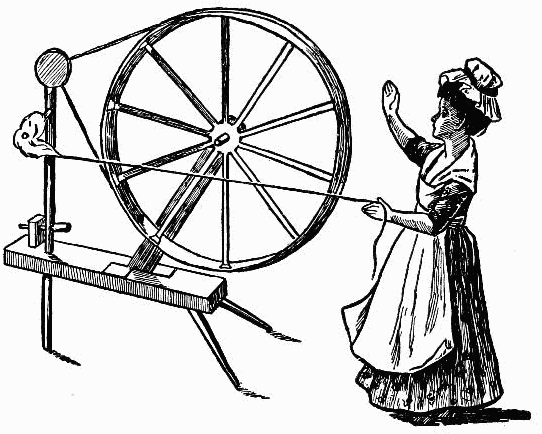 Fig. 228.—The spinning-wheel and jointed doll spinning.
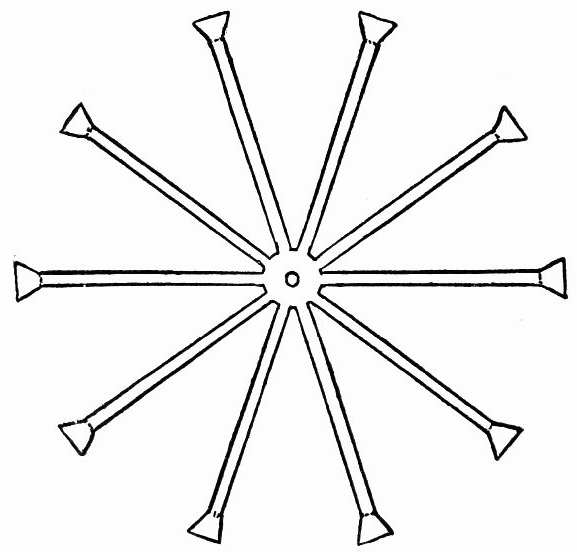 Fig. 229.—Spokes.
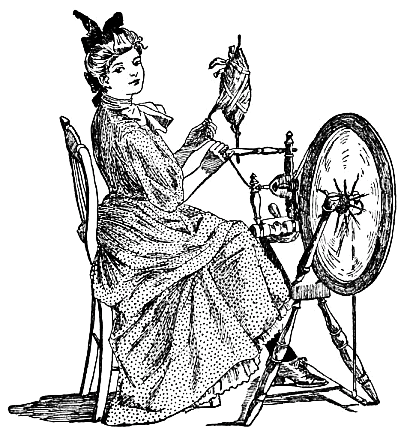
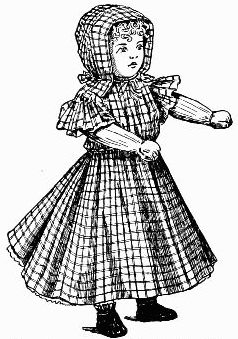
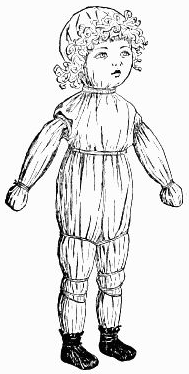
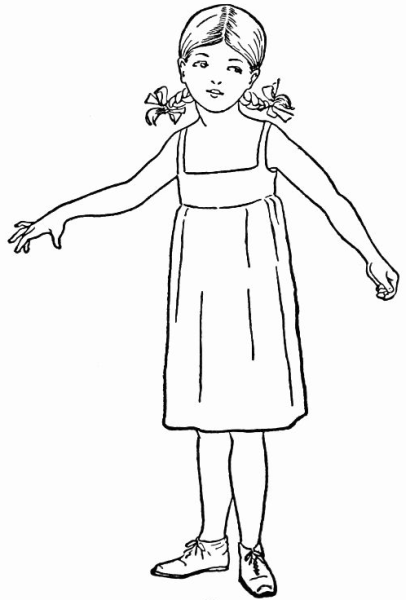
Just look at your little colonial friend, Thankful
Parker! (Fig. 228). The tiny maid seems almost to be
stepping lightly forward and backward as she spins out long
threads of the soft, warm yarn, singing softly all the while a
little old-fashioned song. How busily she works, and listen!
you can all but hear the wheel's cheery hum, hum, hum!
That's the way the real colonial
dames used to spin. Such a
Spinning-Wheel
belonged to every family, for all
had to do their own spinning or
go without the yarn,
as they could obtain
no assistance
from others.
 Fig. 231.—Small
wheel.
Fig. 231.—Small
wheel.
|
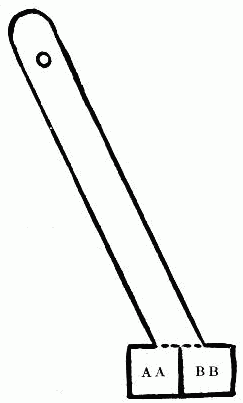 Fig. 233.—Wheel brace.
|
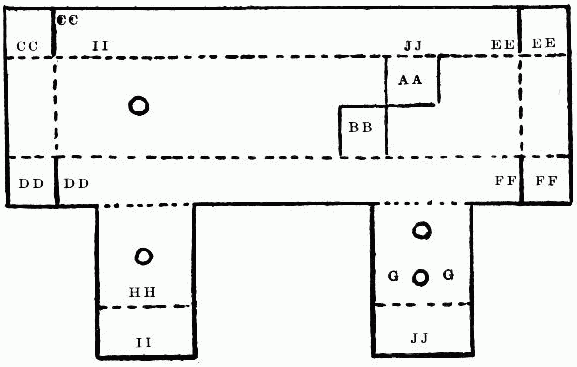 Fig. 232.—Stand.
 Fig. 230.—Tire
of wheel.
Fig. 230.—Tire
of wheel.
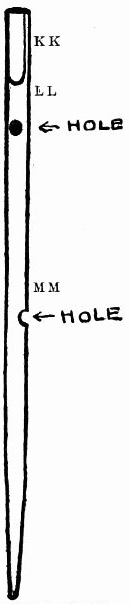 Fig. 234.—Upright.
Cut from cardboard the
spokes (Fig. 229) for your
miniature colonial spinning-wheel,
the tire (Fig. 230), and the
two small wheels (Fig. 231). Bend
forward the fan-shaped ends of each
spoke (Fig. 229) and glue the tire (Fig.
230) around on them; let one edge of tire lie flush
on the edges of the bent ends of the spokes.
With the exception of the square spaces AA
and BB on the stand (Fig. 232) cut the heavy
lines and the little holes; score, then bend the
dotted lines. Bend down the long sides and the
ends fitting the corners against
and on the inside of the same
letters on the sides, glue these
in place and you have a long,
narrow box with two extensions
on one side (HH and GG).
Bend these extensions, also
their ends II and JJ, and glue
the ends on the inside of the
opposite side of the box against
the places marked II and JJ.
Turn the box over, bringing
the level smooth side uppermost.
Cut out the wheel
brace (Fig. 233), turn it over on
the other side, then bend AA
backward and BB forward,
and glue the brace on the
box-like stand (Fig. 232) on the
squares AA and BB. See Fig. 228.
Make the upright (Fig. 234)
of wood; shave both sides of
the end, KK, until it is flat and
thin, then glue a small wheel
(Fig. 231) on each side, raising
the wheels above the wood
that the flat end of the upright
may reach only to their centres. Glue the wheels
together to within a short distance of their edges.
With the red-hot end of a hat-pin
bore the hole LL through the front of
the upright, and below bore another hole,
MM, through the side. Make the screw
(Fig. 238) and the block (Fig. 239) of wood. Run
the screw through the side hole MM in the upright
(Fig. 234), and push the screw on through
the hole in the top of the block (Fig. 239). Break
off more than half of a wooden toothpick for the
spindle (Fig. 236) and pass it through the
hole LL (Fig. 234).
Make the hub (Fig. 235) of wood and
thread it in through the wheel and brace
(Fig. 233), to hold the wheel in place. Use
two wooden toothpicks, with the ends
broken off (Fig. 237), for legs; insert these
slantingly into the holes, GG (Fig. 232),
on the under part of the stand, allowing
the top ends to reach up and rest against
the under side of the top of the stand.
Spread out the bottom ends of the legs.
Run the upright (Fig. 234) through the single hole near
one end of the stand (Fig. 232) and pass it down through
the under hole on HH. The lower part of the upright
forms the third leg. See that all
three legs set evenly when
the wheel stands, and that
the box part is raised slightly
higher at the upright end, slanting downward
toward the other end (Fig. 228). Glue the three
legs firmly in place.
Connect the two small wheels (Fig. 231)
and the large wheel together by passing a
string between the small wheels and over
around the outside of the tire of the
large wheel, fastening it on here and
there with a little glue (Fig. 228).
Twist a piece of raw cotton on the
spindle and tie a length of white
darning-cotton to the end of the cotton
(Fig. 228).
 Fig. 236.—Spindle.
|
|
 Fig. 238.—Screw.
|
 Fig. 239.—Block.
|
 Fig. 241.—Hair-pin.
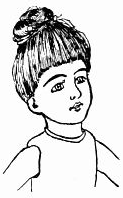 Fig. 240.—Do her hair up in this fashion.
Stretch the thread across to the hand of
your colonial-dressed doll, glue it in place, and the next
time your mother attends a meeting
of the Society of Colonial Dames tell
her to show your little
maid Thankful Parker
and her spinning-wheel.
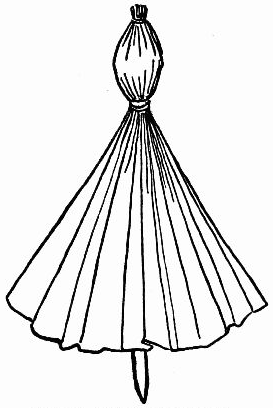
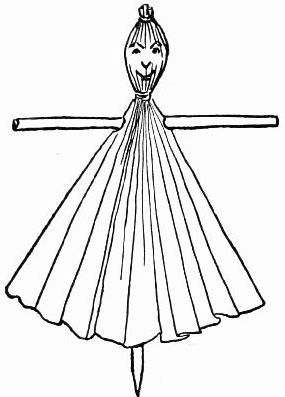
When you
Dress the Doll
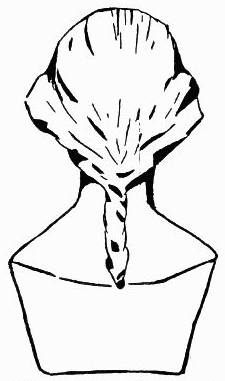
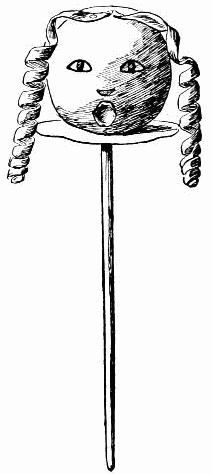
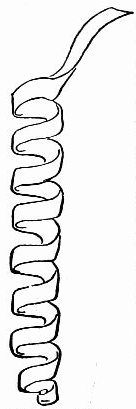
coil her hair up on top
of her head (
Fig. 240) and fasten it in place with common
pins (
Fig. 241). Make the straight bang look as nearly as
possible as though the hair
were drawn up into a
Pompadour such as was
worn in Colonial times.
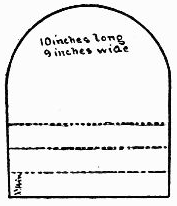
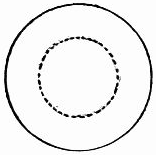 Fig. 242.—Pattern of cap.
|
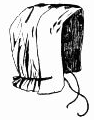
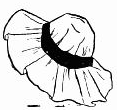 Fig. 243.—The cap.
|
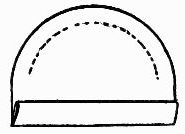
 Fig. 244.—Cap band.
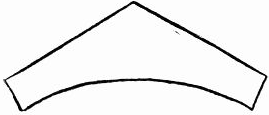 Fig. 245.—Pattern of kerchief.
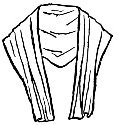 Fig. 246.—Fold the
kerchief like this.
Fig. 246.—Fold the
kerchief like this.
|
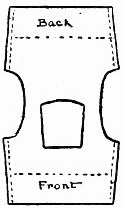 Fig. 247.—Pattern of
waist.
Fig. 247.—Pattern of
waist.
|
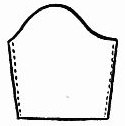 Fig. 248.—Pattern of
sleeve.
Fig. 248.—Pattern of
sleeve.
|
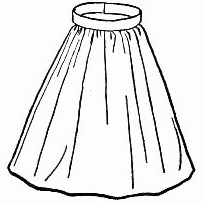 Fig. 249.—The apron.
|
Make the cap (Fig. 243)
of thin white material cut
like Fig. 242, and the band
(Fig. 244) of the same color
as the dress. Cut the thin
white kerchief like Fig.
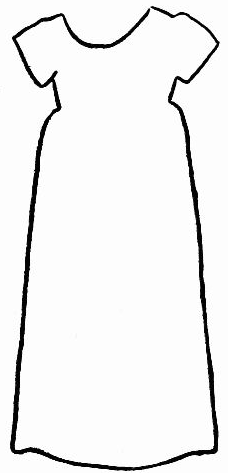
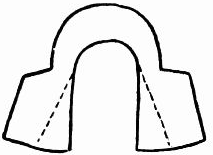
245, and fold it as in Fig. 246. Fig. 247
gives the design for the dress waist, and
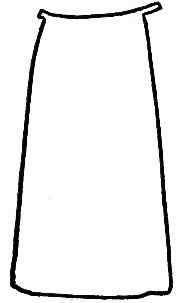
Fig. 248 the sleeve. The skirt is a straight
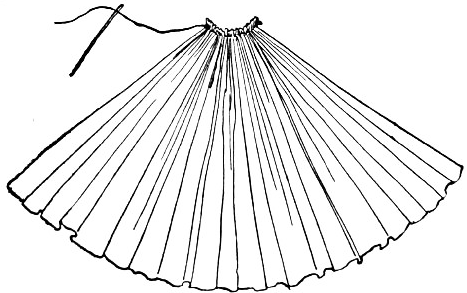
piece gathered into a waistband.
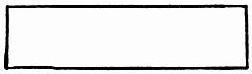
The apron (Fig. 249)
is white. When the doll is
dressed it should resemble
little Thankful Parker (Fig. 228). An
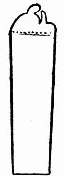 Fig. 250.—Lock and
band of tinfoil.
Fig. 250.—Lock and
band of tinfoil.
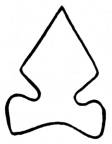
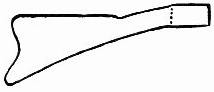 Fig. 251.—Make this part of pasteboard.
Old-Fashioned Flintlock
Rifle
with its long, slender barrel was used almost daily by our
forefathers for securing game as food.
The gun was kept hanging in plain sight over the
kitchen mantel-piece,
ready for defence
at a moment's
notice, for in those
early days wolves
and other wild animals
were numerous
and dangerous,
and enemies were
also likely to appear
at any time.
You should have
one of those queer
old guns to adorn
your kitchen wall.
Get some heavy tinfoil
off the top of a
bottle, or take a collapsible
tube and from it cut a wide strip like Fig. 250, one
narrow, straight strip and two medium-wide straight strips,
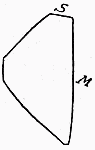
four in all. Cut the butt end of
the gun (Fig. 251) of stiff cardboard.
Break a piece measuring
four and one-half inches from a
common coarse steel knitting-needle for your gun-barrel
and use a slender, round stick, or the small holder of a
draughtsman's pen,
cutting it a trifle
more than three and
one-half inches in
length for the ramrod
groove.
 Fig. 252.—A pin for a ramrod.
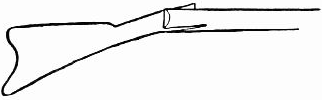 Fig. 253.—Slide the paper end in the wood like this.
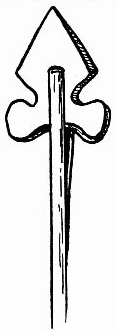
In the centre of one end of the stick bore a deep hole
with the red-hot point of a hat-pin and insert the pointed
end of an ordinary pin for a ramrod (Fig. 252). Split the
other end of the stick up through the centre not quite half
an inch and work the butt end of the gun in the opening
(Fig. 253).
 Fig. 254.—Ready for the tinfoil bands.
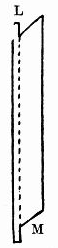
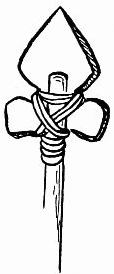
Lay the gun-barrel above the wooden part (Fig. 254) and
fasten the two together with the four bands of tinfoil
(Fig. 255), allowing the top part of Fig. 250 to stand up free
to represent the flintlock. We must be content without
a trigger unless you can manage to make one by bending
down and cutting a part of Fig. 250. Paint the butt and
wooden portion of the gun brown before binding on the
barrel, and you will find that you have made a very real-looking
little rifle to hang upon the rustic brackets over
the mantel-piece.
 Fig. 255.—Colonial flintlock made of knitting-needle and small pen-holder.
When the fire in your big kitchen fireplace needs
brightening, use the
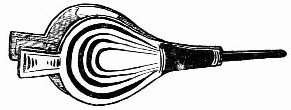 Fig. 257.—The finished bellows.
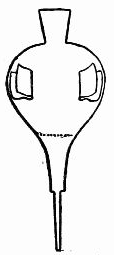 Fig. 256.—Cut the
bellows by this
pattern.
Fig. 256.—Cut the
bellows by this
pattern.
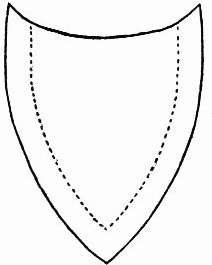
Little Bellows
to send fresh air circulating through the smouldering embers.
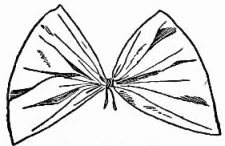
The bellows are easy to make. Cut two pieces of
pasteboard like
Fig. 256,
and cut two short strips
of thin paper. Paste one
edge of each strip to
each side of
one piece
of cardboard
bellows, fold the strips across the centre
(
Fig. 256), and attach the free ends of the
folded strips to the other piece of pasteboard
bellows, forming a hinge-like connection on
each side between the two pasteboard sides.
Paste the points of the two sides together
up as far as the dotted line (
Fig. 256). When
thoroughly dry you can work the bellows by
bringing the handles together and opening
them as you would real bellows (
Fig. 257).
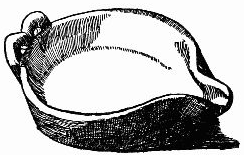
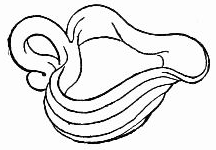
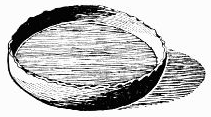 Fig. 258.—Colonial pewter dish made
of tinfoil.
Fig. 258.—Colonial pewter dish made
of tinfoil.
Heavy tinfoil must furnish material for your
Pewter Ware;
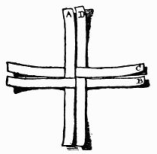
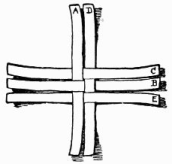
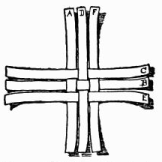
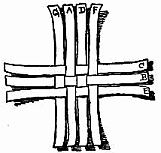
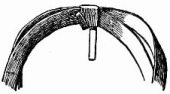
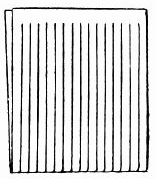 Fig. 259.—The warp.
much of it has the same dull, leaden color and the peculiar
look of old pewter. Should the pieces of tinfoil you find
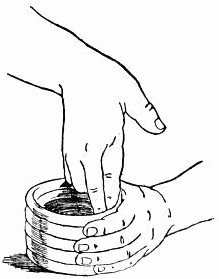
be twisted and uneven, lay them
on a table and smooth out the
creases with scissors or the dull
edge of a knife-blade; then cut
out round, flat pieces and holding
one at a time in the palm of
your left hand, round up the
edges by rolling the ball of a
hat-pin around and around the plate; press rather hard and
soon the edges will begin to crinkle and turn upward (
Fig. 258). You may mould some deeper than others and have a
row of different-sized pewter plates on the kitchen mantel-piece,
and you can make a wee pie in the deepest plate,
open the oven-door and shove the pastry
into the oven with the little iron peel.
Try it.
The colonial kitchen would be incomplete
without a bright,
Home-like Rag Rug
to place over the bare board floor, and
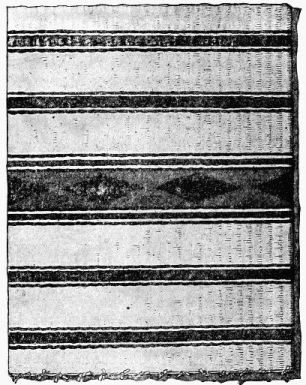
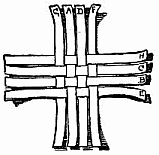
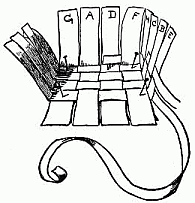
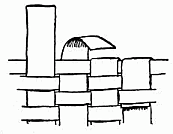
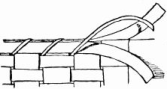
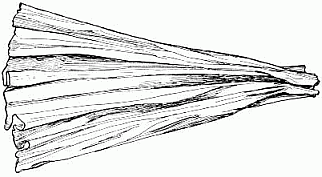
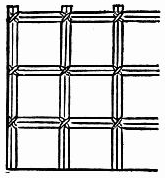
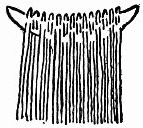
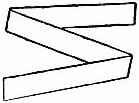
it will be fun for you to weave it. Take
a piece of smooth brown wrapping-paper
the size you want your mat, fold it crosswise
through the centre and cut across the fold (
Fig. 259),
making a fringe of double pieces which we will call the
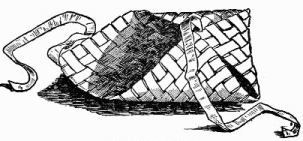
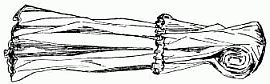
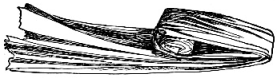
warp. Unfold the paper and weave various colored tissue-strips
in and out through the brown foundations (
Fig. 260),
until the paper warp is all filled in with pretty, bright
colors. You can weave the rug "hit or miss" or in stripes
wide or narrow as you choose, only make the rugs as pretty
as possible.
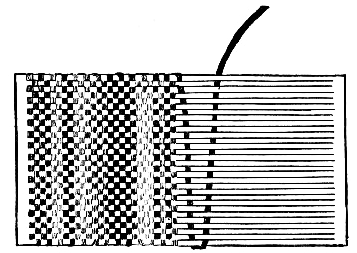 Fig. 260.—Weave the rug in this way.
Now we must manufacture a fine
Old Colonial Clock
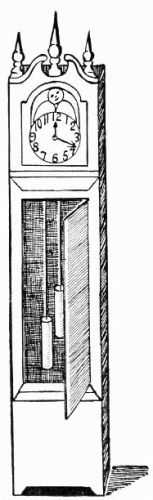 Fig. 261.—Colonial clock with
movable weights.
Fig. 261.—Colonial clock with
movable weights.
|
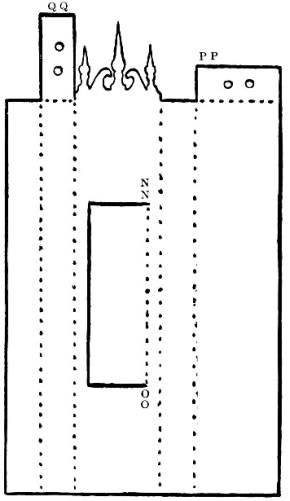 Fig. 262.—The clock is cut in one piece.
|
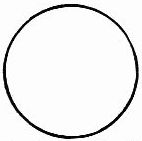 Fig. 263.—Draw the circle.
(
Fig. 261). It would never do to forget the clock, for poor
little Thankful would not know how long her many loaves
of bread were baking
in the big oven,
and the bread
might burn. Cut
Fig. 262 of cardboard
and score all
dotted lines, except
NN-OO, which
forms the hinge of
the door. Mark
this with a pinhole
at top and bottom,
turn the cardboard
over and draw a line from pinhole to pinhole; then
score it on this line that the door may open properly outward.
Try to draw the face of the clock correctly. Make
it in pencil first so that any mistake may be erased and corrected.
When you have the face drawn as it should be, go
over the pencil lines with pen and ink. Begin the face
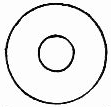
with a circle (
Fig. 263). Make it as you made the circle for
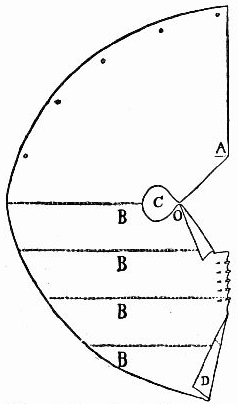
the wigwam, only, of course, very much smaller. Above
the circle, at the distance of half the diameter of the circle,
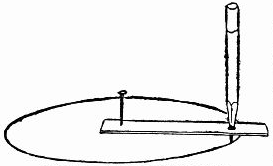
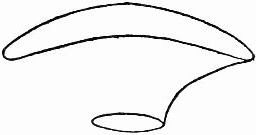
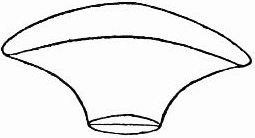
draw a curve with your home-made compass (
Fig. 264).
Lengthen the compass a little and make another curve a
trifle above the first (
Fig. 265). Connect the lower curve
with the circle by two straight lines (
Fig. 266), draw a small
circle above the large one (
Fig. 267), connect the two circles
by two scallops (
Fig. 268), and bring the upper curve
down into a square (
Fig. 269). The small top circle stands
for the moon; draw a simple face on it like
Fig. 270, then
make the numbers on the large circle
(
Fig. 271) and also the hands (
Fig. 272).
Both numbers and hands must be on the
same circle on the clock. They are on
two different circles in the diagrams that
you may see exactly how to draw them.
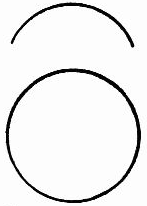 Fig. 264.—Then a curve
above the circle.
Fig. 264.—Then a curve
above the circle.
|
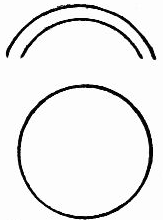 Fig. 265.—Another curve
above the first one.
Fig. 265.—Another curve
above the first one.
|
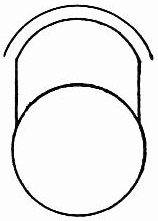 Fig. 266.—Connect the
lower curve with the
circle by two lines.
Fig. 266.—Connect the
lower curve with the
circle by two lines.
|
Leave Fig. 269 white, but paint the
other portions of the clock a light reddish
brown with black lines above and below the door, and a
black band almost entirely across the bottom edge of the
front of the clock that the clock may appear to be standing
on feet. Gild the three points on the top to make them
look as if made of brass.
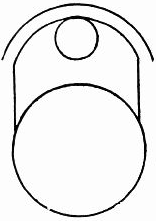 Fig. 267.—Draw a small
circle above the large one.
Fig. 267.—Draw a small
circle above the large one.
|
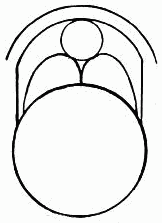 Fig. 268.—Connect the two
circles by two scallops.
Fig. 268.—Connect the two
circles by two scallops.
|
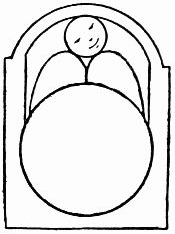 Fig. 269.—Extend line of upper
circle down to form a square.
Fig. 269.—Extend line of upper
circle down to form a square.
|
Be sure that the four holes in the top (Fig. 262) are fully
large enough to allow a coarse darning-needle to be passed
readily through them; then bend the clock into shape, fitting
the extension PP over the extension QQ; the two
holes in PP must lie exactly over those in QQ. Glue the
clock together, using the blunt end of a lead-pencil, or any
kind of a stick, to assist in holding the sides and tops together
until the glue is perfectly dry.
 Fig. 270.—Make this face
in the small circle.
Fig. 270.—Make this face
in the small circle.
|
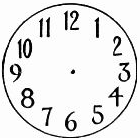 Fig. 271.—Put the numbers
on the clock face
in this way.
Fig. 271.—Put the numbers
on the clock face
in this way.
|
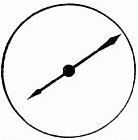 Fig. 272.—Make the
hands of the clock
like these.
Fig. 272.—Make the
hands of the clock
like these.
|
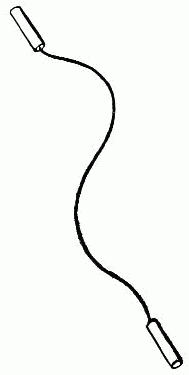 Fig. 273.—Weights for winding
the clock.
Fig. 273.—Weights for winding
the clock.
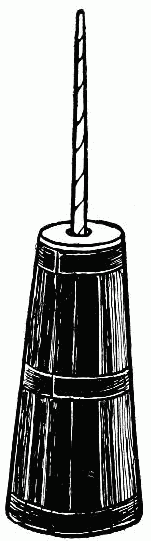 Fig. 275.—The churn.
Thread a piece of heavy black darning-cotton in the largest-sized
long darning-needle you can find; on one end of
the thread mould a cylinder-shaped piece of beeswax, cover
it with thin tinfoil, then open the clock-door and hold the
clock with its head bent outward and downward from you.
Look through the open door and see the holes on the inside
of the top; run your needle through one of these holes and
across the top on the outside,
bringing it down through the
other hole into the clock. Slip
the needle off the thread and
mould another piece of beeswax
on the free end of the
thread, make it the same size
and shape as the first weight,
cover this also with tinfoil and
you will have clock-weights
(Fig. 273) for winding
up the old-fashioned
timepiece.
Gently pull down
one weight and the
other will go up,
just as your colonial
forefathers wound
their clocks. When
the weight is pulled
down in the real
clock it winds up
the machinery, and
the clock continues
its tick, tack, tick,
like the ancient timepiece Longfellow
tells us of, stationed in the hall of
the old-fashioned country-seat.
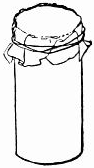
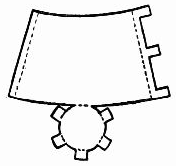 Fig. 274.—Pattern of the churn.
 Fig. 277.—Handle of
the dasher.
Fig. 277.—Handle of
the dasher.
Do you like real country buttermilk, and have you ever
helped churn? If you live in the city or for some other
reason are not able to make the butter, you can still enjoy
manufacturing a little
Colonial Churn
that will look capable of producing the best sweet country
butter (
Fig. 275).
 Fig. 276—Cork lid to the churn.
|
 Fig. 278.—Dasher.
|
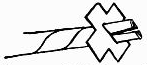 Fig. 279.—Push the end
of the handle through
the dasher.
Fig. 279.—Push the end
of the handle through
the dasher.
|
 Fig. 280.—Cut
end of handle
pasted on the
dasher.
Fig. 280.—Cut
end of handle
pasted on the
dasher.
|
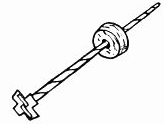 Fig. 281.—Put the handle of the
dasher through the lid.
Fig. 281.—Put the handle of the
dasher through the lid.
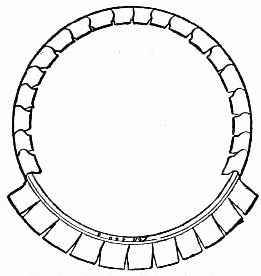
Cut Fig. 274 of heavy paper or light-weight cardboard;
mark three bands on it (Fig. 275).
Make your churn much larger than
pattern, have it deep enough to stand
as high as Fig. 275. Glue the sides
together along the dotted lines, turn
up the circular bottom and glue the extensions up
around the bottom of the churn. Fit a cork in the
top for the churn-lid and make a hole through the centre of
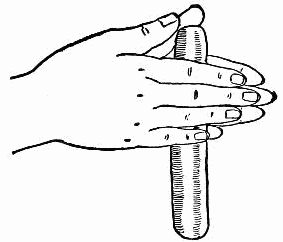
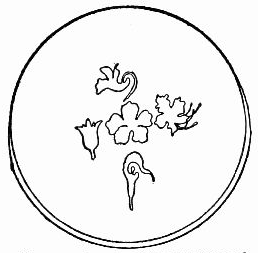
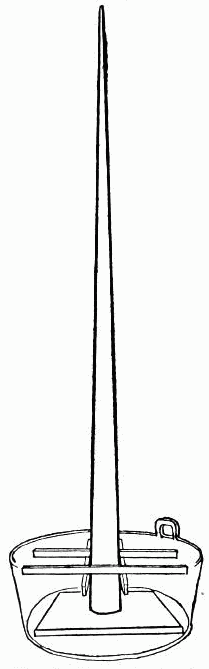
the cork for the handle of the dasher (Fig. 276). Make the
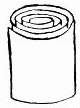
handle by rolling up a strip of paper as you would roll a
paper lighter. Glue the loose top end of the handle on its
roll; then cut the large end of the handle up a short distance
through its centre (Fig. 277). Cut the dasher (Fig. 278) from cardboard, slide it over
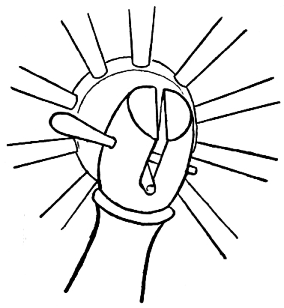
the divided end of handle (Fig. 279),
bend the two halves of the handle-end
in opposite directions, and glue
them on the dasher as shown in
Fig. 280. Slip the handle of dasher
through the cork lid (Fig. 281), and
fit the lid in the churn (Fig. 275).
Paint the churn and handle of dasher a light-yellow-brown
wood color, the bands black, and when dry you can work
the dasher up and down the same as if the churn were a
real one. Stand the churn in your kitchen not far from the
fire so that little Thankful may attend to the cooking while
she is churning.