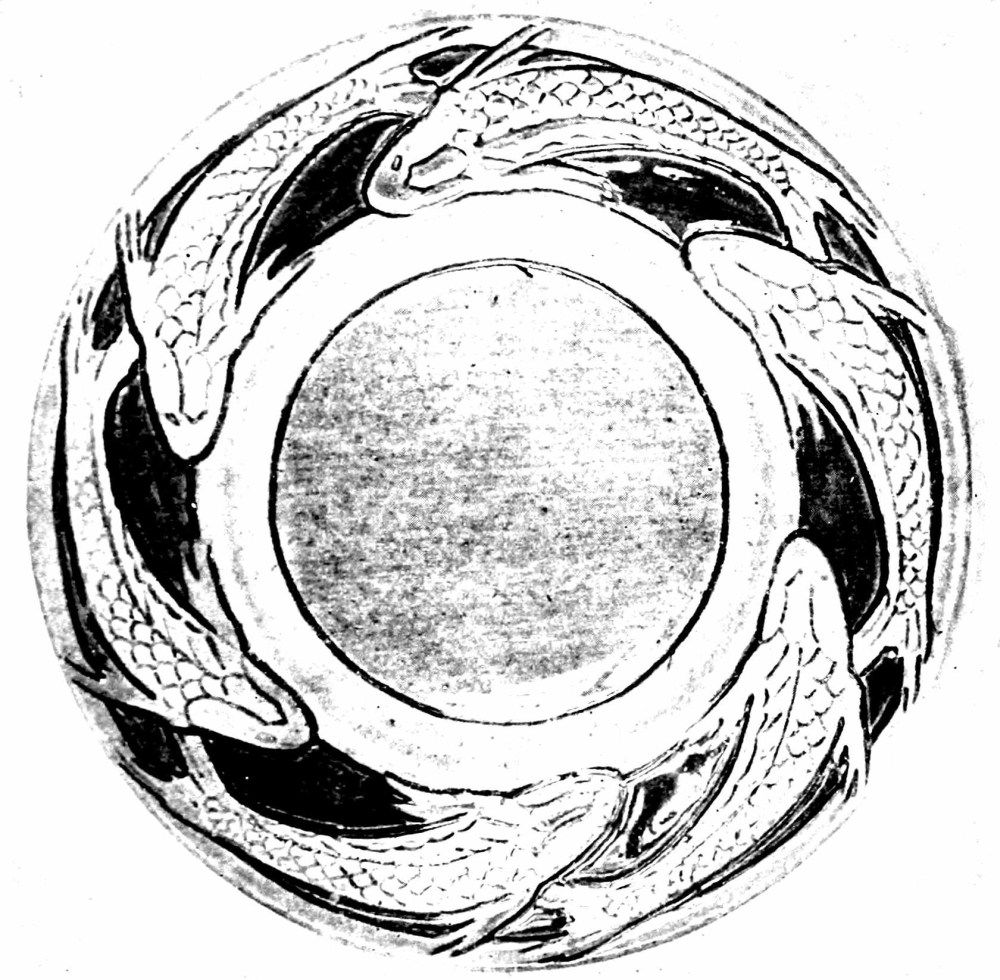
Pottery for Beauty and Use
When one thinks of the limitless possibilities of
pottery in household decoration—the great dishes
for flowers and fruit, the lamp-bowls, candlesticks,
and tiles—one may make, one can hardly wait to
begin. Now is the chance to work out a long-treasured
idea for a match-bowl, or a plant-jar to
hang against the wall or window frame. Now one
can show the superiority of one’s conceptions over
the stupid things in shops! Let us hasten to get
out the clay and begin.
Materials required:
About 4½ pounds of clay,
A plaster mould for a bowl, 10 or 11 inches in
diameter at the top,
The oval tools of sheet steel,
The wooden modelling tools,
The pointed steel tool,
A flint bag,
A rolling-pin,
A bowl of slip,
A small sponge.
Take a good lump of clay, about four and a half
pounds, well worked and free from air-bubbles.
Beat out a piece with the flat of the hand on a table
until it is about three-quarters of an inch thick and
more than large enough to cover the bottom of the
plaster mould you have chosen. It should be of
even thickness, and may be rolled with a rolling-pin
to make it smooth. Be sure that the plaster mould
is clean and free from scraps of clay. Then dust it
with powdered flint tied up in a cotton cloth. Now
fit the flat piece of clay carefully into the bottom of
the bowl mould, pressing it firmly, but lightly,
against it. Cut the edge evenly around. Next a
long rope of clay is rolled as described in Chapter II.
It should be an inch in diameter, and long enough
to go around the bowl just above the bottom.
Pat it flat and even, and cut one end into a long
point. After cross-cutting the edge of the bottom
piece (to insure its holding firmly to the coil above),
brush it with slip and lay the coil along, pressing it
firmly on to the edge of the bottom piece. Work
the edges of this piece and the coil together with
firm, short strokes of the flat part of the thumb or
forefinger nail. Where the coil joins the other end
it is cut into a long, flat point that will fit exactly
the point at the beginning, completing the row.
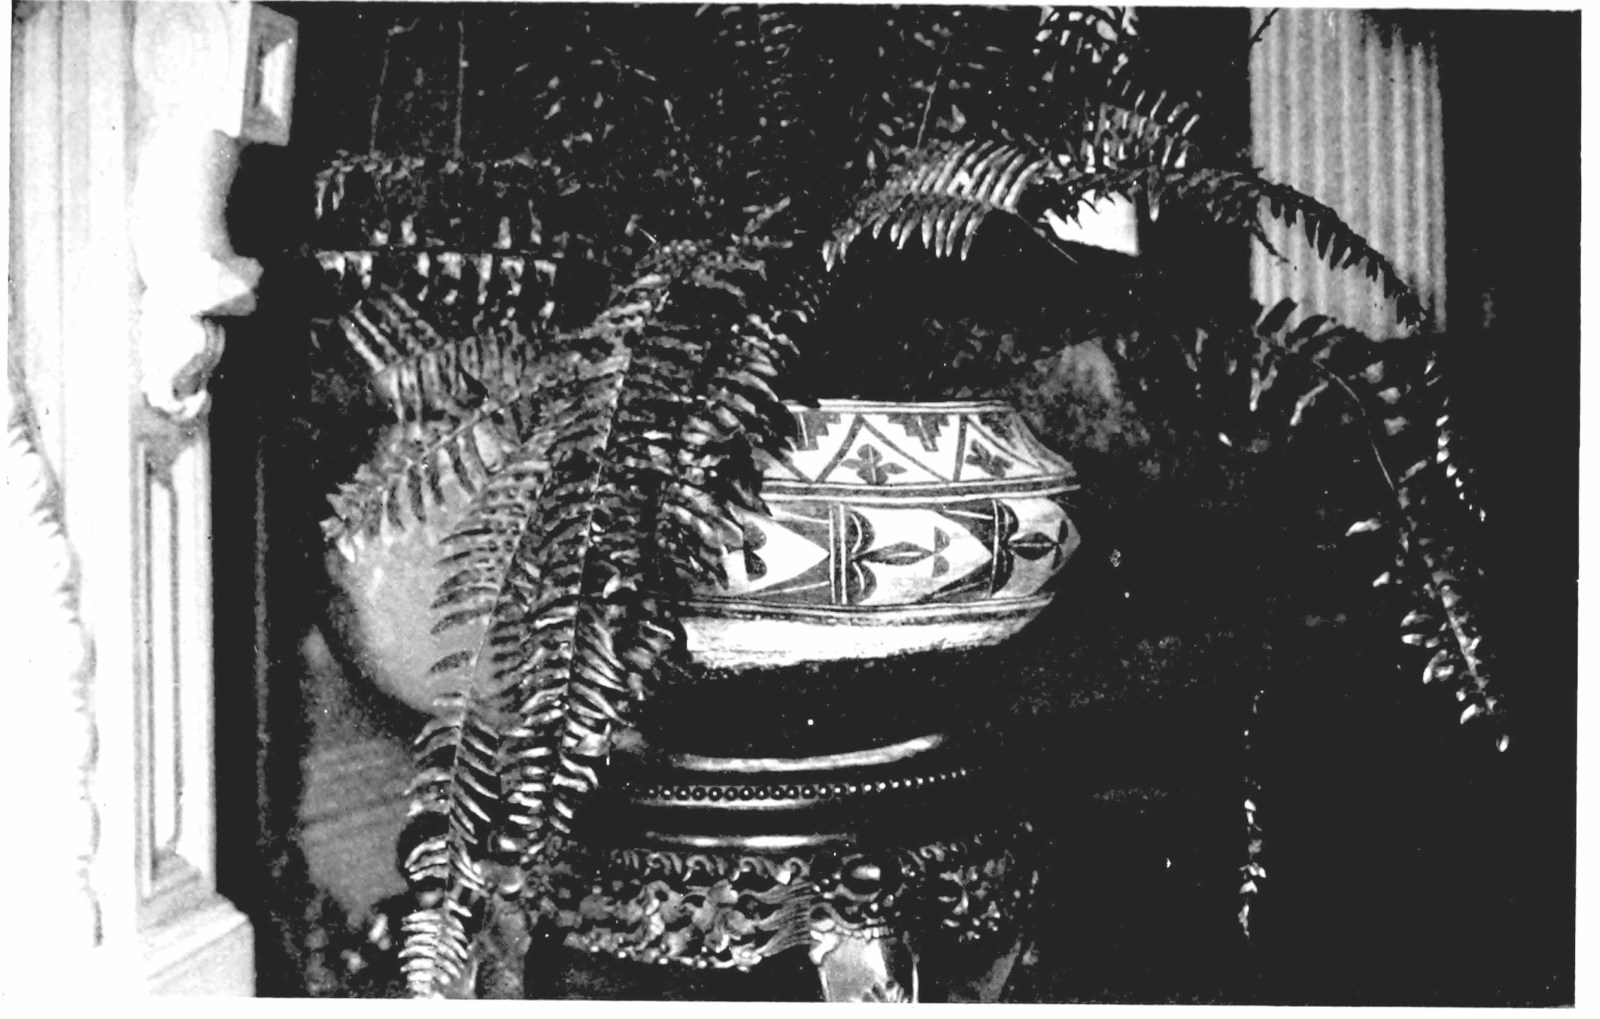
WHERE USE AND BEAUTY ARE COMBINED
For the next coil no cross-cutting with the tool is
necessary, but otherwise the process is the same in
joining this and subsequent coils. Care should be
taken to press the clay firmly against the walls of
the mould, as well as upon the coil below. When
the inside of the mould is covered, if a deeper bowl
is desired, add one or two more coils above the edge,
taking care to have them slope in such a way as to
continue the lines of the bowl. It is then set away
to harden. The next day the clay will have dried
and shrunk sufficiently to come easily away from
the plaster. The bowl is then placed bottom up
on a table or flat slab, and the hollows left between
the coils on the outside are wet with slip and filled
in evenly, with clay of the consistency of that in
the piece. This will take time and care. The
bowl is then allowed to dry for an hour or two.
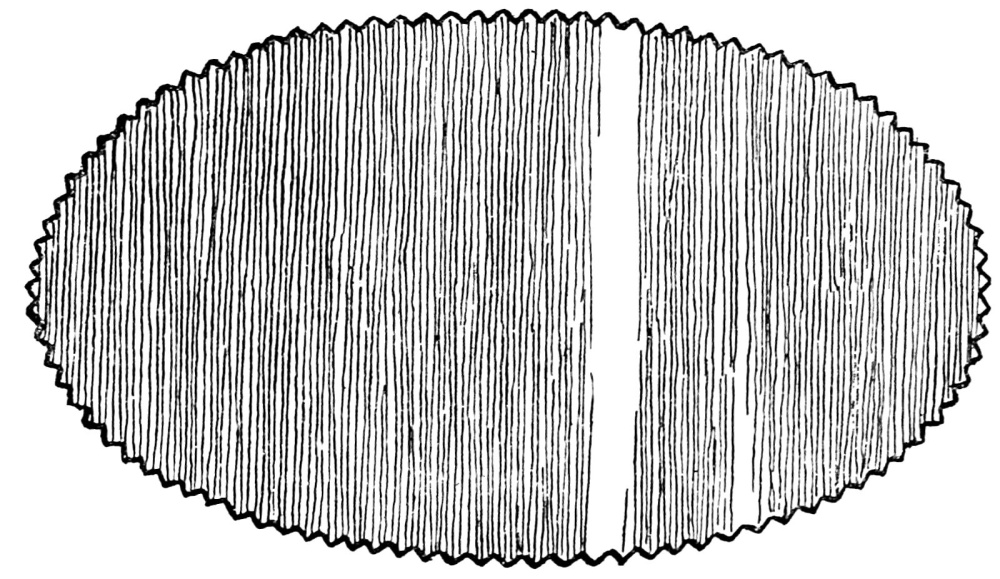
Next it is carefully scraped and made even; first
with the oval steel tool with a saw edge, held at
right angles with the bowl and curved to fit the
form: this is to get the large bumps off. It is then
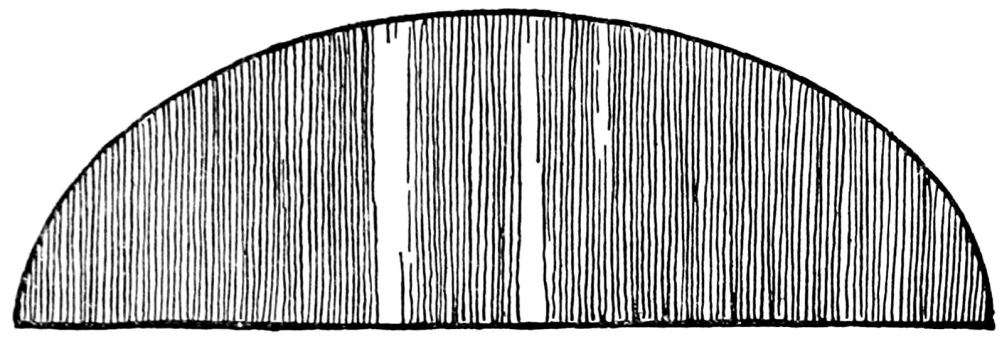
carefully evened off with the smooth-edged oval
tool bent to fit the curves of the bowl. The inside
is made smooth and even in the same way, brushing
any deep hollows with slip and filling them in
with clay. This process should be carefully and
conscientiously done, so that the walls of the bowl,
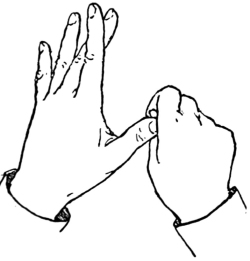
as one feels them between finger and thumb, are
even and free from lumps. They should not be
more than a quarter of an inch thick.
A damp sponge is then passed over the bowl, and
the fingers and thumb smooth and polish it outside
and in. The edge is trimmed as evenly as possible by
eye with a steel tool and then bevelled as follows:
On a large slab of ground glass pour a little water,
which should be spread over the glass till it is thoroughly
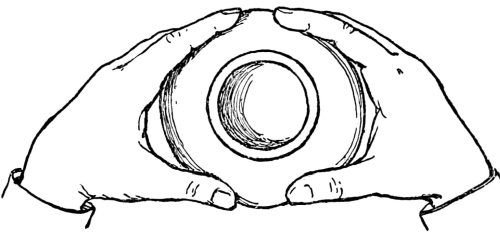
wet. Now, holding the bowl bottom up,
firmly with both hands, press its edge quickly and
with a circular motion flat on the glass. It must
be done so rapidly and deftly that it will not stick,
but makes the edge even and true. Slip it off at
the side of the slab instead of lifting it up from the
centre. The bottom is finished as described in
Chapter II. If this is done in the morning, the bowl
will be ready for the decoration in the afternoon.
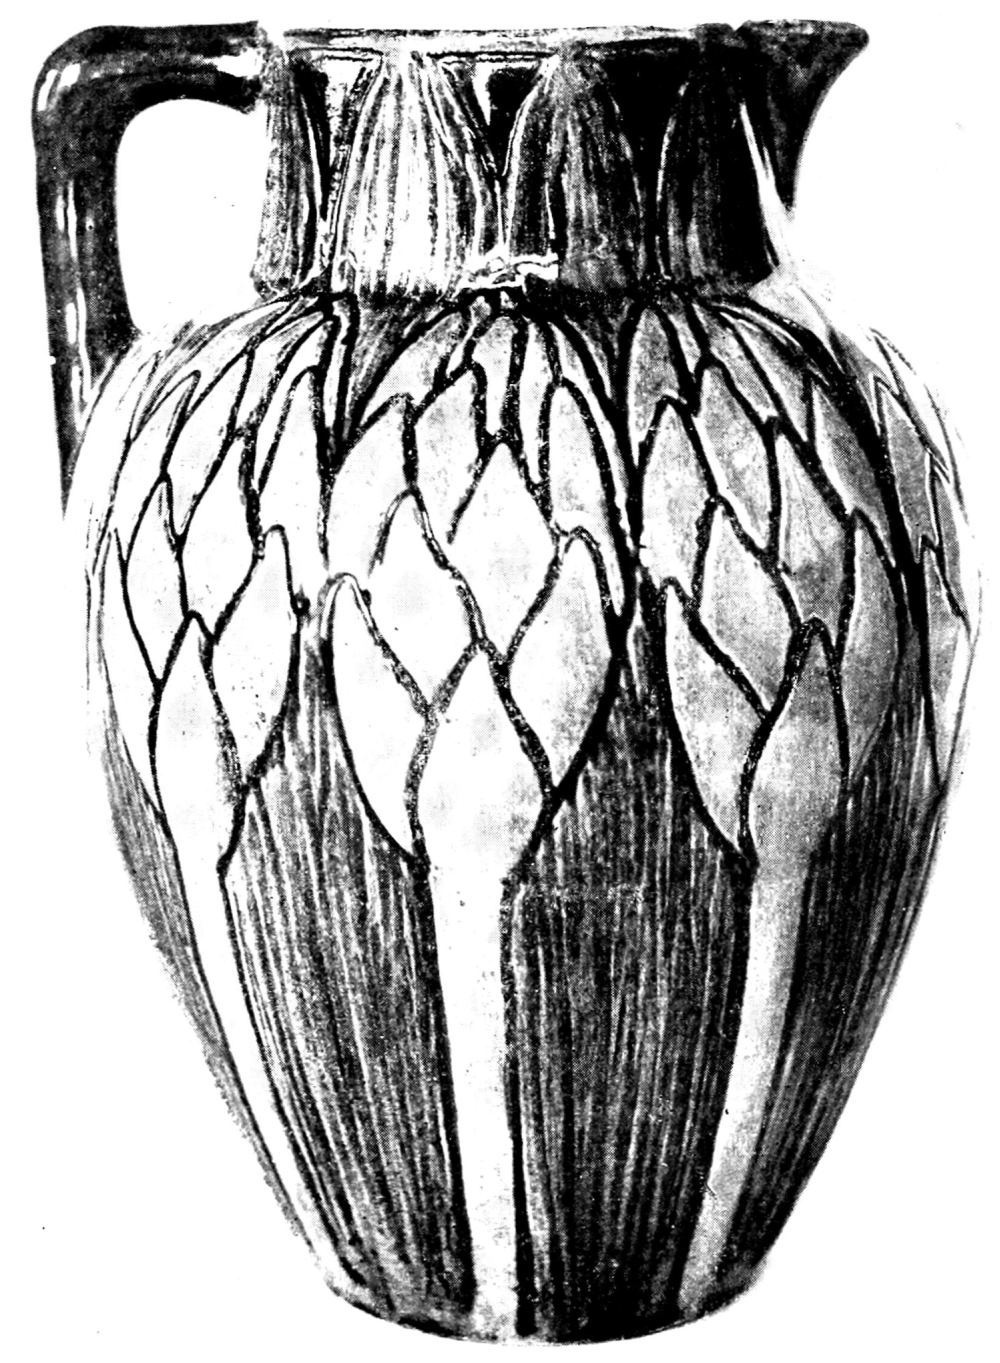
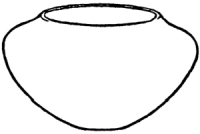
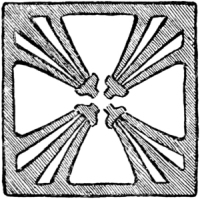
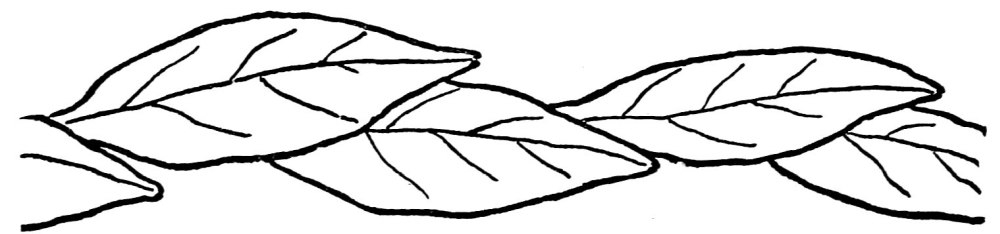
This is a band of orange leaves (see Fig. 25), deeply
incised near the top of the bowl on the inside (see
Chapter IV.). More character will be given to the
design if the line is broad and deep, particularly
at the points of the leaves, which are thus emphasised.
This piece being so large, should, if possible,
be fired in the biscuit and then finished, inside and
out, with a dark-green mat-glaze (see Chapter V.),
and fired again.
Materials required:
About 1¼ pounds of clay,
The boxwood modelling tools,
The pointed steel tool,
A plaster slab,
A small sponge.
This sturdy little candlestick shows that it is
hand moulded by the marks of the potter’s thumb
on base, handle and candle cup. The square base
is moulded from a single large piece of clay. This
is patted flat and even with the thick part of the
hand, and then cut square and the sides turned up
for about an inch, making the base about five inches
square and three-eighths of an inch thick. It is
then placed on a plaster slab, and the corners are
pressed in with a firmly held thumb. The sides of
the square base are moulded into a gradual inward
curve, and the corners are slightly depressed (see
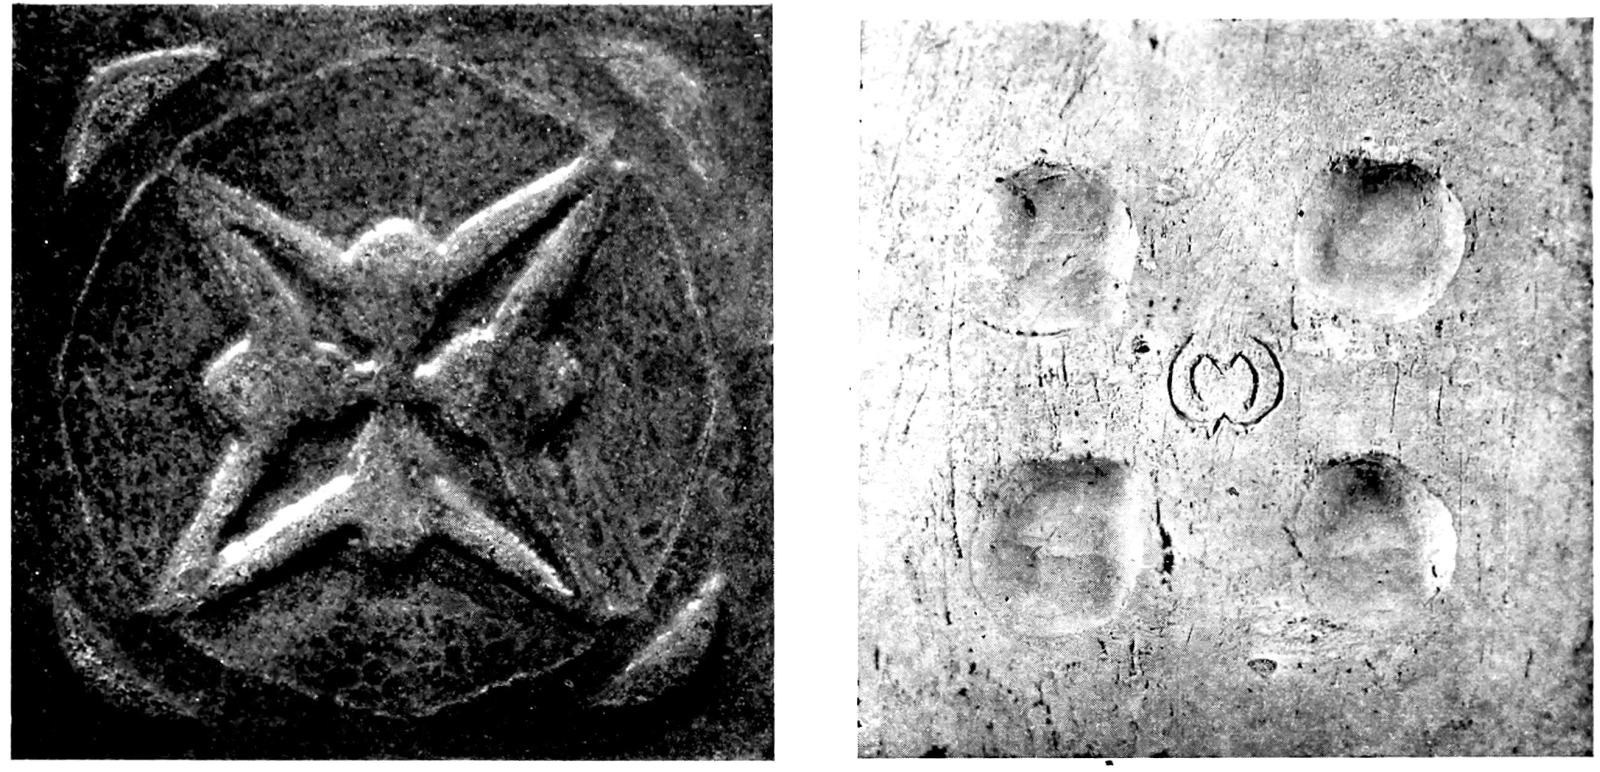
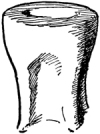
plate). A cup for the candle (see Fig. 26) is made
by rolling a piece of clay into cylindrical form,
about an inch and three-quarters in diameter and
two inches and a quarter long. At the top of this
roll, the finger makes a hollow for the candle. It
should be remembered that the clay shrinks both
in drying and firing, so this hole should be a trifle
large and deep for the candle.
The sides of the cup, at about an
inch from the top, are squared
and pressed in so that the
four corners will stand out like
columns. The hollowed sides
between the corners show the
mark of the thumb (see Fig. 26).
The centre of the base is now
wet with thick slip and the candle cup pressed
firmly on to it, while the edges are moulded closely
on to the base.
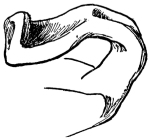
A piece of clay is then rolled and flattened into a
handle an inch in diameter and five inches long.
This is put on at one corner of the base, and is not
attached at any other point. Before moulding it
on to the base, touch the corner lightly with thick
slip, to insure its holding. Where the handle joins
the base it is made thick and substantial by adding
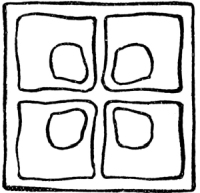
a little extra clay. The print of the thumb is made
where the handle joins the corner, another is
pressed on the top, and another still on the end of
the handle (see plate and Fig. 27). To support the
handle until it dries, roll a ball of soft paper under
it. After the candlestick has stood for a few hours
out-of-doors or indoors
overnight, it is
carefully trimmed with
one of the wooden
tools or the sharp-pointed
metal one,
taking care to leave
sufficient thickness to
give it a sturdy, substantial
character, yet
not enough to make it clumsy. It is then
rubbed over with a damp sponge and polished with
the thumb and finger, which will smooth away any
lumps and give the piece a hand-moulded look.
Should there be any very deep hollows to make it
uneven, they should be wet with slip very slightly
and filled in with clay as nearly the consistency of
that in the candlestick as possible. When it is
bone dry, it will be ready for the glaze (see Chapter
V.).
Materials required:
About 3½ pounds of clay,
A plaster mould for a bowl,
The wooden modelling tools,
The oval sheet steel tools,
The pointed steel tool,
A rolling-pin,
A flint bag,
A small sponge.
Having chosen a good mould for your bowl, brush
it inside with ground flint tied in a cotton cloth, so
that the clay will not stick to it. Now beat out a
piece of well-worked clay on a board, with the flat
of the hand, until it is perhaps two inches more in
diameter than the bottom of the mould, and half
an inch thick. It should be rolled smooth with
the rolling-pin. Lay it in the mould, pressing it
firmly against the bottom and sides. It may not
be out of place here to say that no tool but a wooden
one should be used in working in moulds, as metal
tools are liable to injure the plaster. The edge of
the bottom piece is next cut even with a wooden
modelling tool, and a lump of clay is formed into a
rude cube shape between the hands and then rolled
out on a table or board with the flat of the hand
till about three-quarters of an inch in diameter.
This roll of clay is flattened evenly for its whole
length. The top edge of the bottom piece is marked
with criss-cross lines and wet with slip. The roll
of clay is then started on edge, along the top of the
bottom piece, pressed firmly down upon it and
against the sides of the mould. It is joined to the
bottom with firm, even strokes of the thumb or forefinger
nail. When the circuit has been made, the
two ends, each cut in a long, flat point, so that they
will unite perfectly, are joined. Another roll is
now made, the upper edge of the previous coil is
wet with slip, and the coil is attached in the same
way, being careful to start at a different place from
where the previous coil was joined. Thus the whole
bowl is built up. Where there are any decided hollows
made by joining the coils, they should be filled
in with clay of the consistency of the piece, and the
bottom and sides smoothed with dampened finger
or modelling tool. If a moderately deep mould has
been chosen, after the sides are covered with layers
of clay, four or more coils may be added above the
mould to make a deeper bowl, continuing the sides
in a graceful line. To do this, when the first coil
above the mould has been attached, the bowl is
set away, out of doors for fifteen or twenty minutes
if it is in summer or indoors for a longer time if one
is working in the winter. Whenever two coils have
been built up, the piece is set away to harden.
These coils, being free from the mould, can be
joined on the outside as well as within. They are
brought gradually in (see plate) until there is a
space five and a half inches in diameter at the top.
If a central-draught lamp is to be used in this bowl,
a pierced design will be practical, as it does away
with the necessity for a hole at the bottom of the
bowl. There is much to be done, however, before
the piece is ready for the design. When it has
stood for four or five hours or overnight, the bowl
can be lifted from the mould, the cracks on the outside
where it was impossible to join the coils are
wet with slip and filled in with clay of the consistency
of the bowl, using the finger or a wooden
tool. When the bowl is quite dry, it is smoothed
inside and out, first with the oval tool with saw
teeth, and then with the smooth-edged one, as
described on page 19. The strokes with these tools
should be short and firm, in every direction. The
piece is then turned bottom up, a circle is drawn
half an inch in from the edge of the bottom, and
the clay within it scraped out, so as to leave a flat
surface slightly lower than the outer rim. This is
where the potter cuts his mark—a simple, quickly
made initial in lieu of a signature.
The top edge, after it has been cut as true as possible
by eye, is made absolutely even by the method
described on page 70. The whole piece is then
rubbed with a damp sponge and smoothed and
polished with the fingers. It is now ready for the
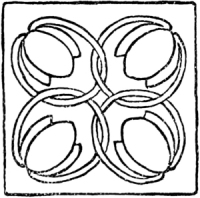
design (see Fig. 28).
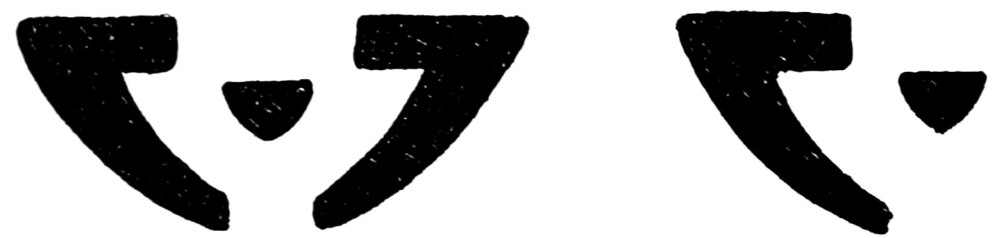
The top edge of the bowl is marked off into fifths,
and at three-quarters of an inch from the top the
design is drawn with pencil, so that each time it is
repeated the centre shall be directly below a mark
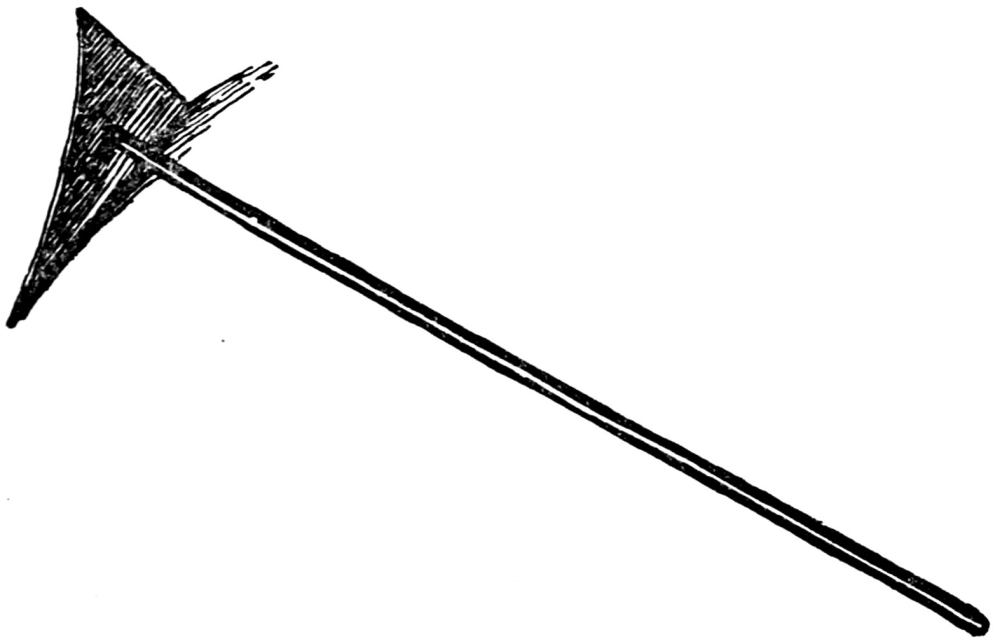
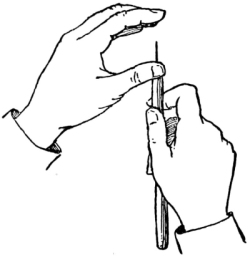
on the edge. It is first incised with a metal tool,
in firm, sure lines. Again the outline is traced,
this time more deeply. Then the clay within the
lines is cut out as deep as it has been incised, and
finally the sharp edge of the tool cuts through the
wall, close to the line. The left hand should support
the inner wall of the bowl during this process.
When the whole design has been made, dip the
finger in water and soften the edges of the cut portion.
The bowl is now ready for glazing. If possible,
it will be better to fire such a large piece as
this in the biscuit before glazing. It will look well
if glazed with gray blue or dark green (see Chapter
V.).
Materials required:
About 4½ pounds of well-mixed clay,
A plaster slab about 10 by 12 inches,
The oval tools of sheet steel,
The pointed steel tool,
A rolling-pin,
Ultramarine blue water-colour paint,
A medium-sized paint-brush with fine point,
A saucerful of ground, baked clay, mixed with
water.
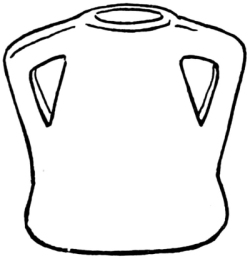
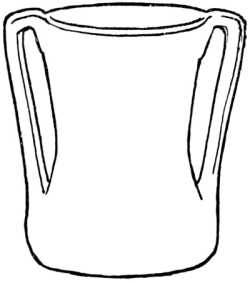
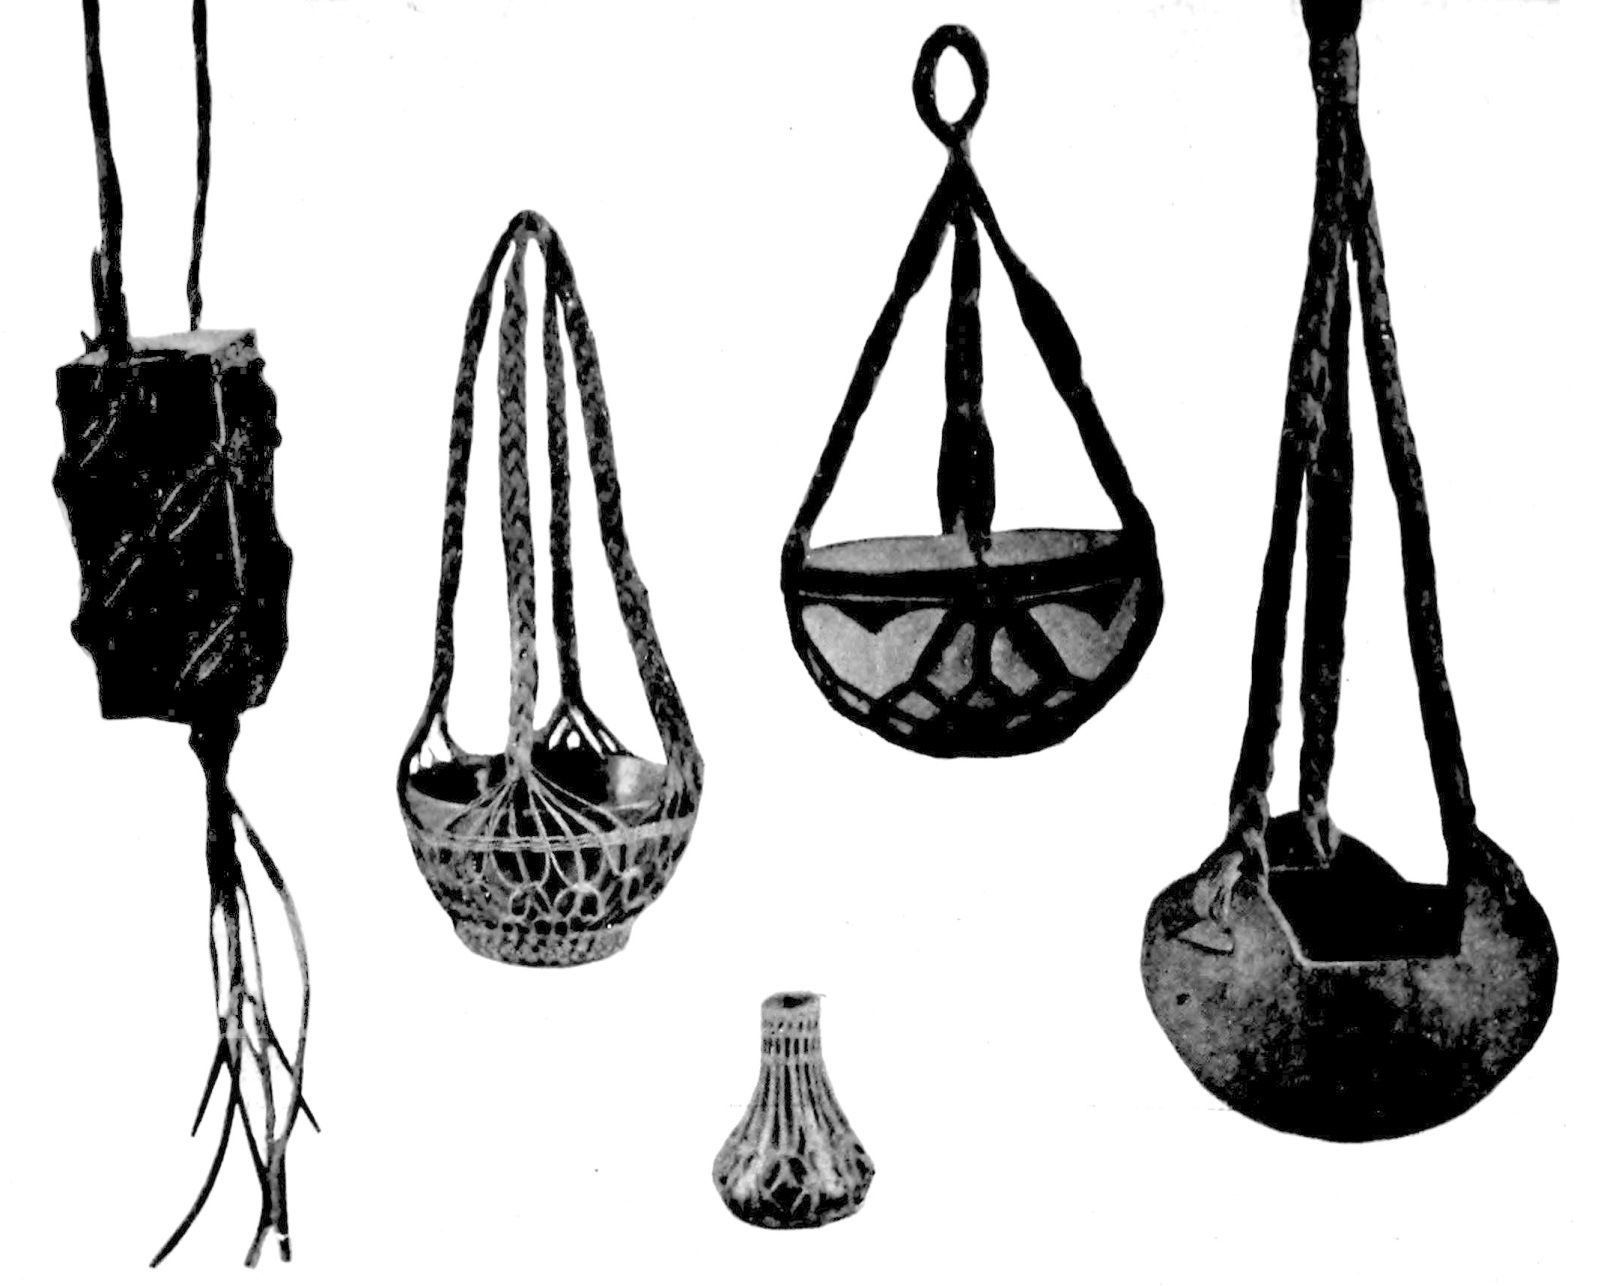
An Indian water-jar of basketry, smeared with
pinon gum, pointed at the bottom so that it could
be set upright in the ground or hung by leather
thongs to a tree, suggested the form of this jar.
One side is made flat, so that it can hang against the
wall of library or piazza holding some long trailing
plant that grows in water, ivy, or wandering Jew,
or wild flowers gathered on a walk through woods
and lanes. What more appropriate way to make
it than the Indian process described in Chapter II.?
We shall need about four and a half pounds of clay,
well mixed. A large lump, almost two pounds, is
flattened out on a table, with the thick part of the
hand and then made even with the rolling-pin.
The sheet of clay should be ten by twelve inches,
and not less than three-eighths of an inch thick.
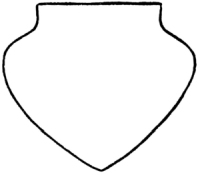
Upon it the jar form shown in Fig. 29 is outlined
with a pencil, making it as large as possible to allow
for shrinkage. It is then cut out with the pointed
steel tool and transferred very carefully to a large
plaster slab, where it remains while the walls are
being built upon it. A
coil of clay is rolled out,
as described in Chapter
II., and beginning at the
left side of the jar shape,
at the top, it is attached
to the edge (which has
previously been criss-crossed
with a steel tool
and wet with slip), all the way around to the opposite
side of the top.
The jar is then put in the air until quite hard,
when the next coil is added in the same way. The
third coil is brought in a little toward the centre,
and subsequent coils come in still more, so as to
make the form that of a jar cut exactly in half.
After each coil is attached, it should be left in the
air to stiffen, or the clay beneath will not support
the coil in progress, so great is the strain in forming
such a shape. Each time a coil is added the wall
below should be criss-crossed with the steel tool
(an extra precaution) and wet with slip. Care
should be taken not to make the walls too thick, and
to join the coils and finish the inside as it is made;
for, when the jar is completed, it is impossible to
get the hand and tool in far enough to smooth and
finish it well.
When the jar is made, except for a diamond-shaped
gap in the middle of the front wall, the
piece to fill it is cut and fitted in. It will lie almost
parallel with the back wall. Take care to make it
full large for the opening, and join it to the inner
edges most carefully, for
here, if anywhere, is the
jar liable to crack. The
top is now made even
by eye, using the pointed
steel tool.
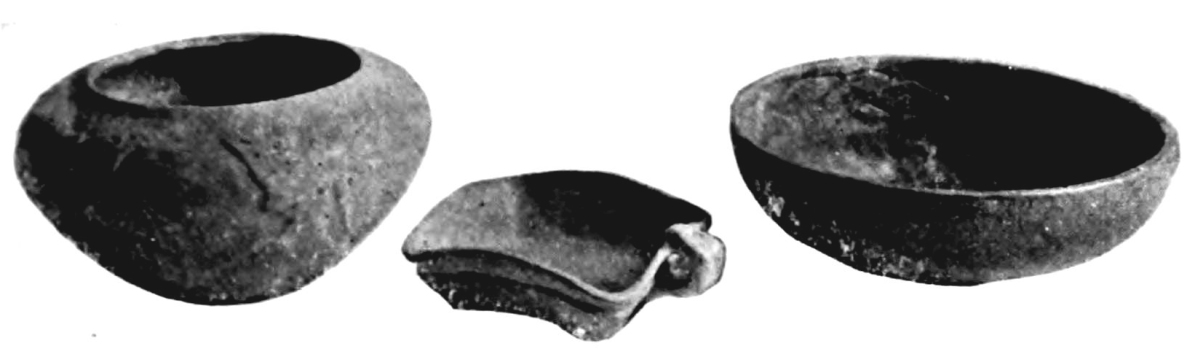
POTTERY FOR BEAUTY AND USE
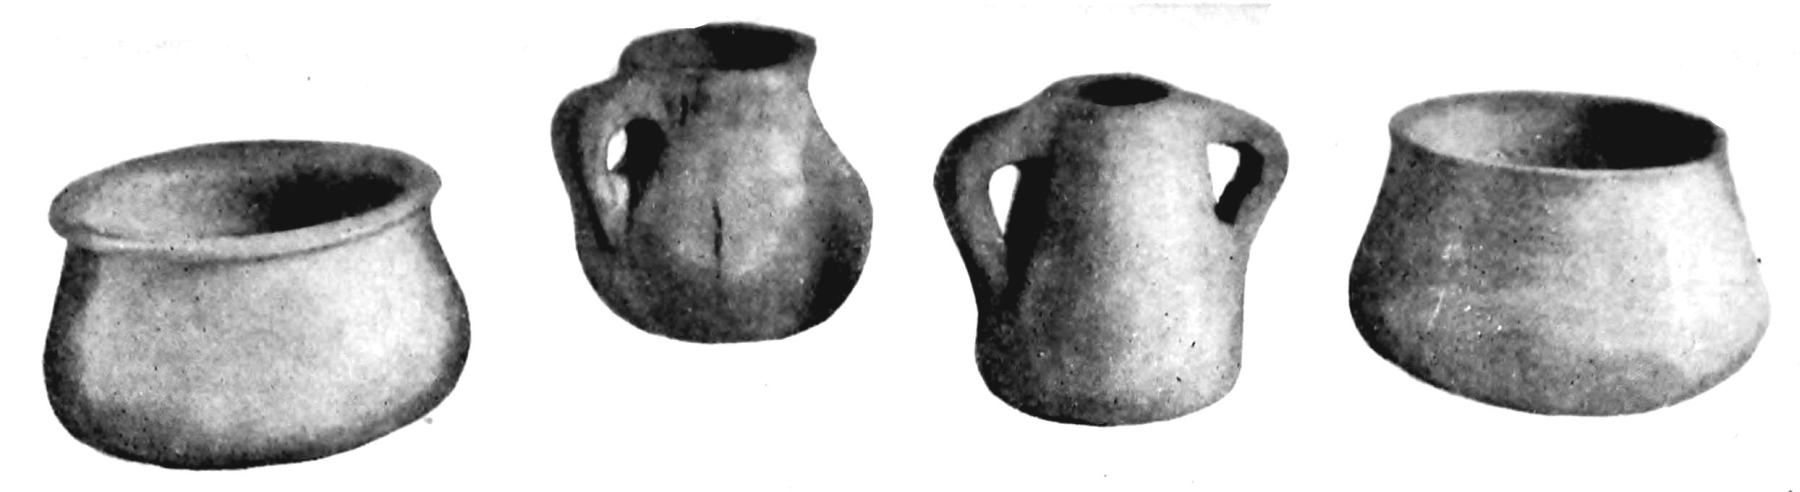
The pale-green rose-bowl with a moth design, at the left, has beside it a low Dutch
dish. On the right is a fruit-bowl with a deep-green mat-glaze.
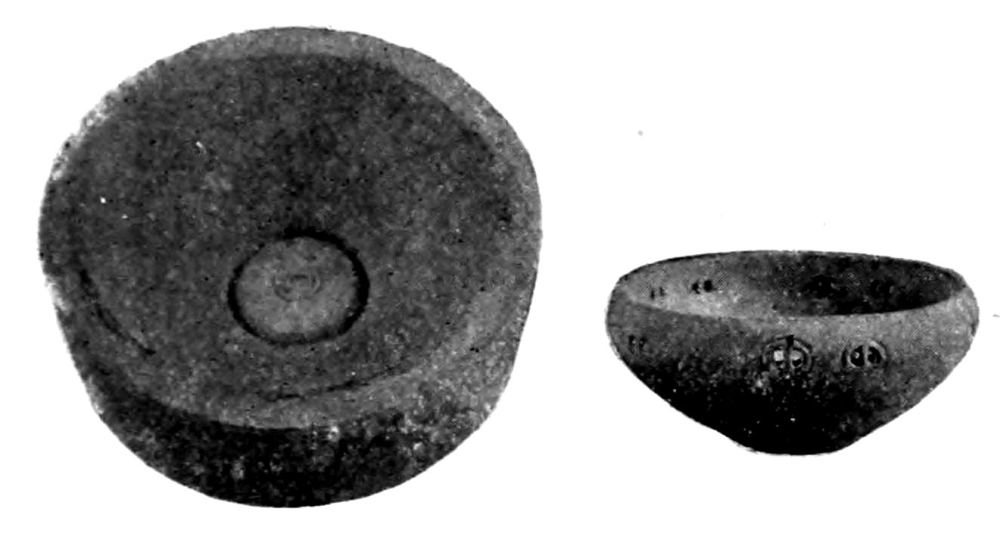
HOW TO MAKE A PLASTER MOULD
At the left is a plaster mould, and beside it a rose-bowl which was partially formed
within it. See chapter VII.
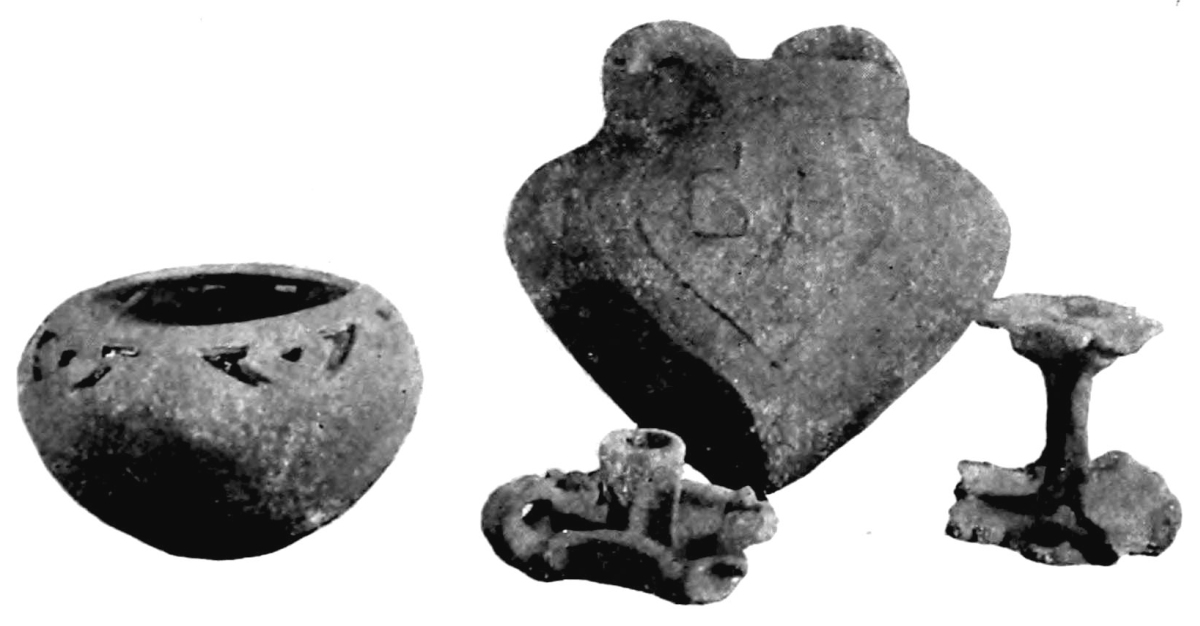
POTTERY FOR BEAUTY AND USE
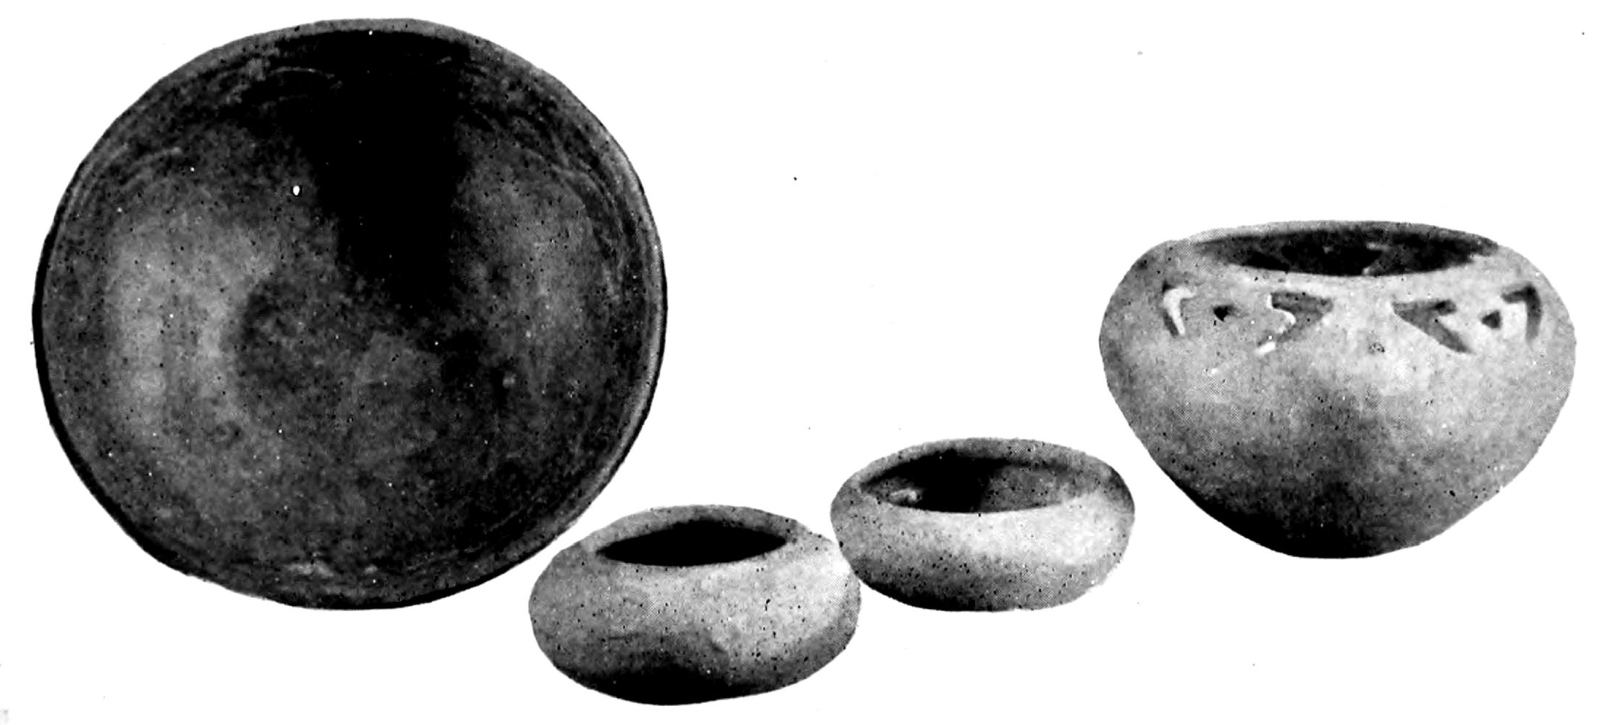
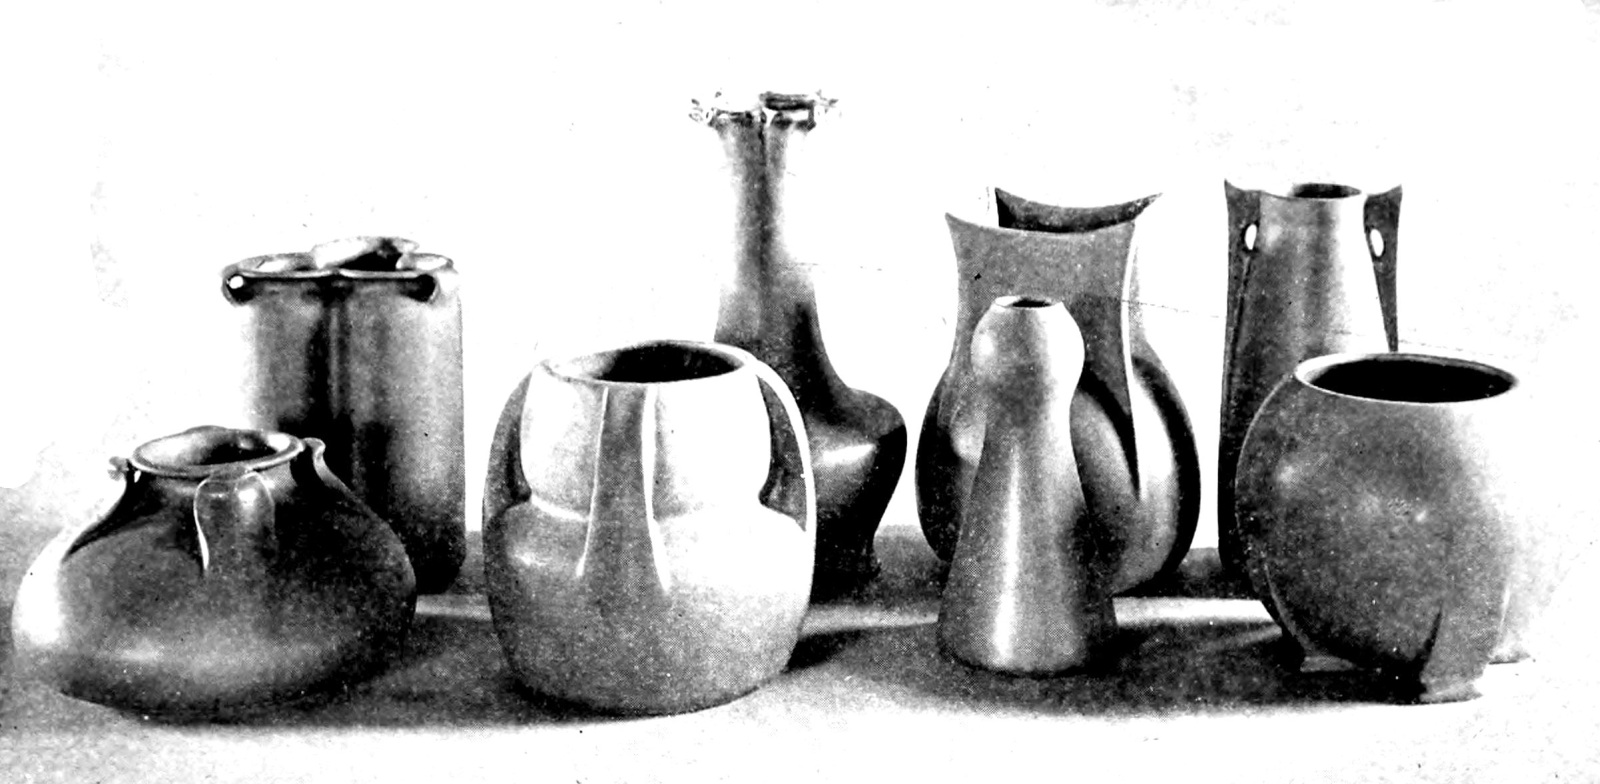
The lamp-bowl on the left has a gray-blue mat-glaze. Next to it is a candlestick, with
the marks of the potter’s thumb on every part. The wall-jar in the background is for
plants that grow in water. On the right is a flower candlestick in green and white.
When the jar is somewhat
dry, two handles
(see plate) are formed of
rolls of clay (the consistency
of that used in making the jar), five and a
half inches long by an inch wide and half an inch
thick. These are firmly attached to the back wall
of the jar at the top (see plate), according to the
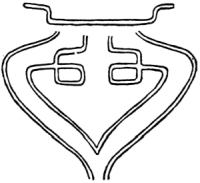
method described on pages 39 and 40. The decoration
(see Fig. 30) is drawn on the rounded front
wall of the jar with ultramarine water-colour, and
then built up with powdered burnt clay and water
(see directions in Chapter IV.). If possible, this
piece should be first fired in the biscuit. A glaze of
dark gray green (see Chapter V.) will finish it
most attractively.
Materials required:
About 1½ pounds of clay,
The wooden modelling tools,
The sharp-pointed steel tool,
A plaster tile,
A rolling-pin.
A quaint Dutch dish, brought from Holland
years ago, was the model for this sturdy little piece
of pottery. It may be used for candy or to hold a
vase of flowers, or a potted plant, protecting a polished
table. A lump of clay is rolled on a table
with the hands and a rolling-pin to the thickness
of half an inch. Upon this clay sheet a rectangle
four and a quarter by four and a half inches is
drawn with a pencil and cut out with the pointed
steel tool. It is then transferred to a plaster tile.
To the edge of this rectangle a coil of clay is
attached according to the directions in Chapter II.,
and flared slightly outward, taking care not to
make the corners sharp, but rounded and even.
After the first coil has stiffened, and the sides have
been made somewhat uniform and thin, it is cut
even by eye, curving the edge up gradually toward
the middle of the sides and depressing it slightly at
the corners.
A second coil is now added, but instead of attaching
it to the top of the first one, it is joined just
below the top and inside the first coil. When it
has stiffened sufficiently in the air, the dish is
smoothed carefully inside and out with the hand
and the wooden modelling tools, making the walls
even and thin and perfecting the shape.
The effect of legs is given by cutting under the
sides, beginning half an inch above the bottom. If
this is started three-quarters of an inch from the
corners, it will leave a sturdy, short leg an inch and
a half wide at each of the four corners of the dish.
A roll of clay about five and a half inches long, an
inch wide, and three-eighths of an inch thick is
made into a handle (see plate), which is attached
at the middle of one of the sides of the dish. At
the two points where it is to be joined, the side of
the dish is criss-crossed with the steel tool and wet
with slip.
The bottom is finished by drawing a square
with a pencil, half an inch in from the edge, and
depressing it within the square, so as to leave a
flat, even surface. The potter’s mark is then made
within this square.
A pale green mat-glaze (see Chapter V.) makes
a charming finish for this piece.
Materials required:
About 5 pounds of clay,
A rolling-pin,
The oval sheet-steel tools,
The pointed-steel tool,
The steel tool with a flat end,
A plaster tile.
This rose-bowl, which is shown in the plate,
was built up without a pasteboard outline. If
one’s eye is reasonably true this is not a difficult
matter, but otherwise the outline process (see
Chapter II.) may be followed.
A piece of clay is first patted flat with the hand,
and then rolled out with the rolling-pin, until it
is six inches square and about five-eighths of an
inch thick. Upon this clay sheet a circle is marked,
five inches in diameter, cut out and placed on a
plaster tile. The edge is criss-crossed with a steel
tool and wet with slip, and the first coil is attached
(see Chapter II.).
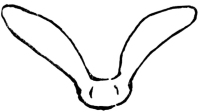
Two coils are built up, and then they are pressed
outward to form the
beginning of the outline,
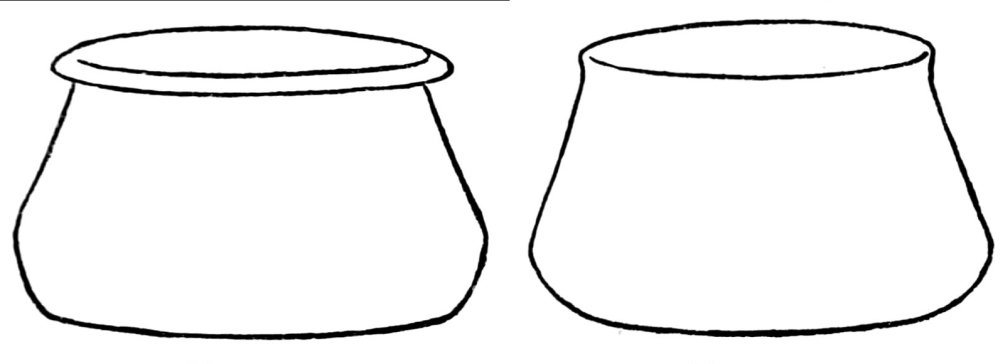
shown in Fig 31.
This outline was taken
from the lower sweep of
the wings of a lunar
moth, and the same
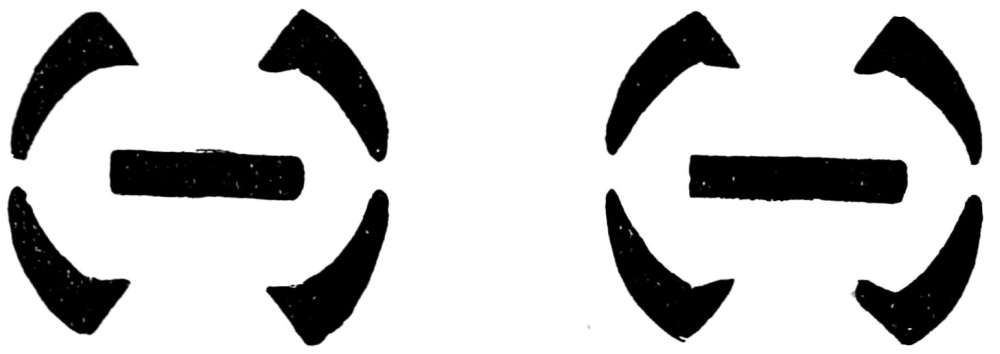
moth forms the relief design upon it (see Fig. 32).

The bowl is then put out-of-doors until the
clay is sufficiently firm to support two more coils.
These are added; flaring
them to follow the
outline, and then the
bowl is put away to
harden—in the air, if
the temperature is not
too cold, otherwise indoors.
It is built up
exactly as was the flower
jar in Chapter II., except
that there is no cardboard outline to test it;
the eye alone is the guide. Great care should be
taken not to add the coils until those below
are quite stiff, for the decided flare makes it
difficult to keep the sides firm and true in
outline. The circumference of the bowl, at its
widest part, should be about thirty inches.
When it is finished, the sides within and without
are smoothed, first with the saw-edged
oval tool, then with the smooth one. The edge is
cut as true as possible by eye, and made perfectly
level by pressing it quickly and lightly on the
ground-glass slab, wet with clear water, as already
described. A damp sponge is then passed over
the piece, inside and out, while the fingers rub and
polish it dry.
The bottom is finished and the potter’s mark
made as described in Chapter II.
When the bowl is thoroughly dry—say the
following day—it is ready for the decoration.
Divide the circumference of the top of the bowl
into fifths, with pencil marks, lightly made. Then
draw the design upon it, so that the top of the upper
wings shall be not less than an inch from the
edge of the bowl. Make the moths as nearly life
size as the bowl will allow. Three and a half
inches across, from tip to tip of the upper wings,
with spaces an inch and a half between them, will
look well, if the bowl is large enough. Having
drawn the design in pencil, outline it firmly with
the sharp steel tool, taking care to bevel the edge
of the design. Never cut under the edge, as the
glaze will not flow well over it. Go over the outline,
making it firm and deep, with a wooden
point. Now, starting close to the edge of the
moth, with the flat-pointed steel tool scrape away
from it, so as to cut as deep as the outline, close
to the design, and shave off to nothing at about
half an inch from it. This will give a low relief
effect, which is very attractive. The antennæ
are incised (see Chapter IV.), and the markings
of the moth may be built up with ground, baked
clay, so as to heighten the relief. The bowl may
be glazed a pale green with a slight yellow tinge
(see Chapter V.) to suggest the colour of the
moth. It should, however, if possible be fired
first in the biscuit.
Materials required:
About 1½ pounds of clay,
The wooden modelling tools,
A plaster tile.
A candlestick in flower form may be made in
green and white, for a bedroom in a country house.
Five leaves, much the shape of poppy leaves,
radiate from the centre, making a base from which
the stem rises for three inches. A round, slightly
flattened calyx, topped by a five-petalled flower,
forms the cup for the candle. A sixth leaf, starting
at the centre of the base, curls over until its
tip rests sideways against the stem, serving the
double purpose of a handle and a brace for the
stem. The base should be modelled first, from
a single piece of clay, placed on a plaster tile. Care
should be taken to have it sufficiently thick—at
least half an inch in most places. Although the
leaves should be indicated, do not try to carry
the leaf form way to the centre of the base. Let
the irregular outline of the whole base, with an
occasional raised tip, or edge of a leaf, suggest
rather than imitate leaves. The leaf that forms
the handle will, of course, be more carefully modelled.
Now mould the stem, about an inch in
diameter and three inches long, with the calyx
on the end, an inch and three-quarters in diameter,
and an inch high. After criss-crossing the middle
of the base with the pointed-steel tool, wet it with
slip and set the stem on the base, working the
edges firmly on to it with the flat of the nail and
wooden modelling tools. The leaf for the handle
is brought over against the stem with a graceful
turn, and there fastened with a touch of slip and
some clay added underneath. Be careful to have
the whole candlestick substantial, and not at all
thin in construction, or it will suggest metal work
rather than pottery.
After the candlestick has stiffened for a few
hours, a five-petalled flower, three and three-quarter
inches in diameter, is modelled and put
on top of the calyx, which has first been criss-crossed
and wet with slip. The cup for the candle
is next hollowed out in the centre of the flower and
calyx, raising the edge of the flower centre slightly
above the surrounding petals. The candle cup
should be a trifle larger than it will need to be
when finished, as it shrinks somewhat in drying
and firing, and the glaze, too, fills it up a little.
Be sure, also, to have it deep enough to hold the
candle.
The base, stem, and handle are finished with a
gray green mat-glaze (see Chapter V.), while the
petals are white—the uncoloured mat-glaze.