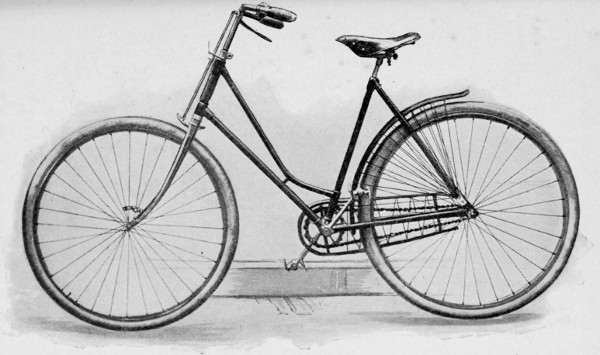
When choosing a wheel, you should know what
you want and why you want it. Machines are built
for special purposes, and any reliable dealer can
help you in selecting a machine and will guarantee
satisfaction. Bicycles wear out, of course, but
with proper care they may be made to last a long
time.
Careful examination of your wheel should always
be made before starting for even a short ride; and
on returning it is well to test gear and pedals, to
look at spokes and tires. Any needed repair can be
noted, and attended to at convenience. Always examine
your bicycle thoroughly after a collision, for
shocks are dangerous even to the toughest metal, and
such precaution may prevent a serious accident.
On returning from a ride the wheel should have a
thorough going over, the enamel dusted, and any
mud washed off with a wet sponge. The chain, if
your machine has one, should be taken off every two
or three hundred miles of dusty road, and soaked in
kerosene over night; the nickel or metal well dusted,
rubbed with a chamois, and polished; and all the
bearings, axles, and gear carefully wiped, and dust
and grit removed. Then the chain should be replaced,
oiled, graphited, and the bearings oiled.
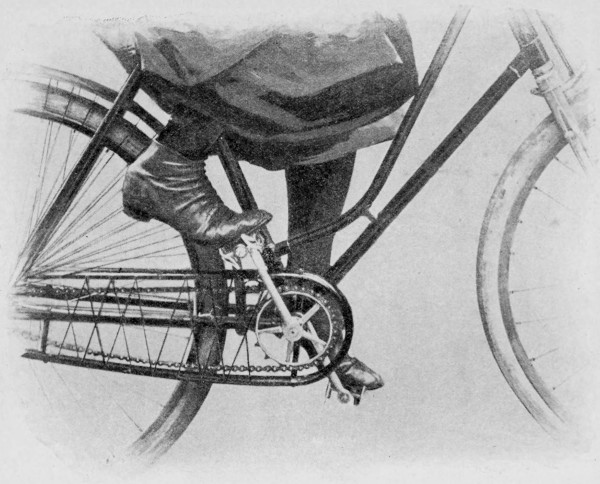
The chain is a complicated mechanism, consisting
of many repetitions of parts; it should be kept clean
and well lubricated. To apply graphite, turn the
wheel upside down, hold the graphite still against
the chain, and turn the wheel. The oil is needed in
the joints of the chain; the graphite where the chain
engages the cogs. The other parts used for applying
power need the usual care given to the best machines—absolute
cleanliness, freedom from grit, and
thorough lubrication.
The chain is at present a mechanical detail only,
and the application of power to the wheel capable of
a great variety of forms. The principle remains
the same, the application of power; the mechanical
contrivance for transmitting it is a detail of construction.
The difference of individuality can be
compensated for in the length of the lever, size and
number of gear, size of wheel, diameter of wheel,
and width of tread.
The ideal machine requires little adjustment.
The less the screws, the nuts, and the bearings are
wrenched, the more perfect is the machine, the more
free from wear and dents and scratches. To apply
a wrench is a serious responsibility that should not
be undertaken lightly. It seems easy, and yet skilled
men are employed just for that kind of work, for it
is work requiring the precision of the trained mechanic.
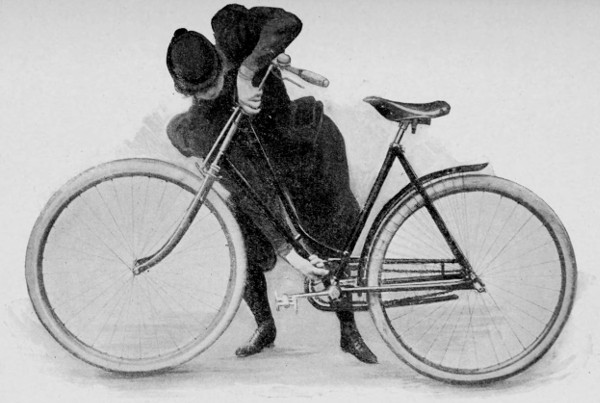
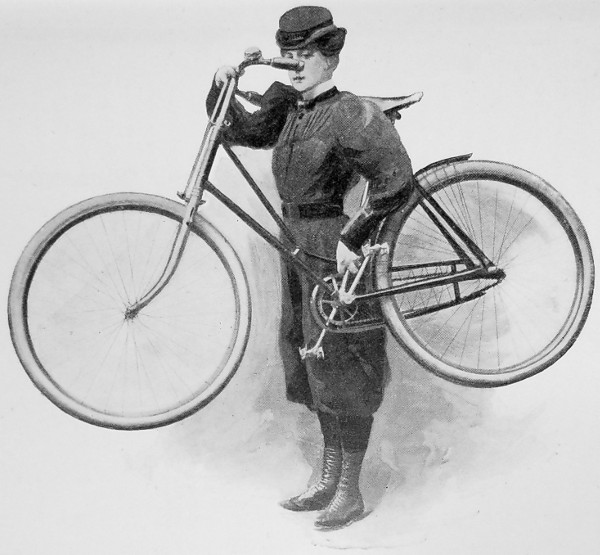
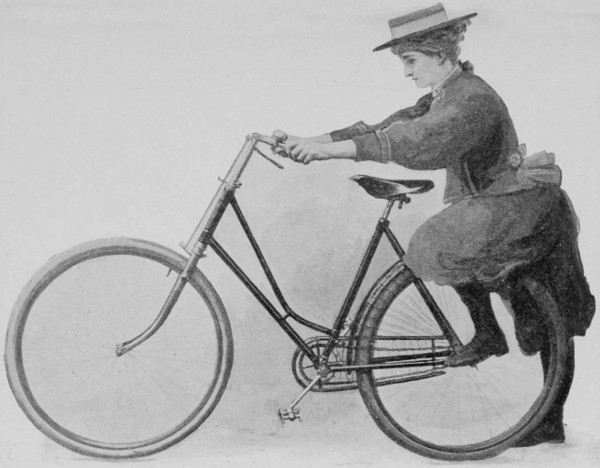
PREPARING TO TURN THE BICYCLE OVER.
After purchasing a watch, the owner does not at
once investigate the machinery; yet many, because
the tools are at hand, are tempted to experiment on
a bicycle. A bicycle, like a watch, should be ready
to run, and only require winding up to keep it going.
It should be adjusted; and if it needs regulating, this
should be done by people who understand the machine
and have the requisite knowledge and responsibility
to do well what is to be done. Two rules
may be laid down for one who does not study mechanical
details—never to touch the bicycle except
to ride it; and never to let any one else touch it who
has not skill and experience.
This practice will prove satisfactory until some
day, miles from home, the bicycle will not go; you
carry it more miles to the nearest conveyance, and
send it home. There you have it examined, and find
that a touch sets it free; just as sometimes, when
your watch will not go, you take it to a watchmaker,
and he examines it, winds it up, and hands it back,
telling you there is no charge. After learning to
wheel a bicycle, therefore, the next step should be
to learn to care for it. Unless somewhat familiar
with machinery, it is bewildering to contemplate
taking the thing apart and putting all those parts together
again; even more bewildering is it, having
taken the thing apart, not to be able to put it together.
In such case, there is nothing to do but to gather
the pieces of the puzzle, and send them to be set
up. If in this extremity a friend who knows all
about a bicycle should offer assistance, it is well to
hear what he has to say before he undertakes the
work. “I do not think your wheel is just like
mine,” perhaps, or “Where do these things belong?”
is enough for the wise. Better send to the shop for
a machinist at once. All the parts of the bicycle are
made to go together in one way, and any attempt at
experiment may injure the mechanism.
When you undertake to investigate a bicycle for
the first time, take an old one as a subject, and endeavor
to put it in perfect running order. If an old
bicycle cannot be had, proceed with much circumspection.
Go where you will be undisturbed, where
there is plenty of room, and where a key may be
turned if there is possibility of interruption. There
is sure to be some oil and grease spattered about, in
spite of the utmost care, and it is well to remember
this while making preparations. Have ready a pile
of old newspapers, some cups, plates, and boxes, and
a painting apron if you possess one; if not an old
skirt and apron, and sleeves well rolled up. For
tools, a monkey-wrench, two or three screw-drivers,
large as well as small, a hammer, one or two pieces
of wood, the bicycle kit, oil, graphite, a can of kerosene,
some cheesecloth and canton flannel, and a large
wooden box.
Take two newspapers folded in half, and put them
on the floor for the saddle and handle-bars; then
turn the bicycle upside down, and arrange the newspapers
under the saddle and handles. If there is a
bell, take it off, or place a block under the opposite
end of the bar to balance it. Before turning the bicycle
over, remove the lantern, if there is one on the
bicycle, as the oil will be spilled out if the lamp is
turned upside down.
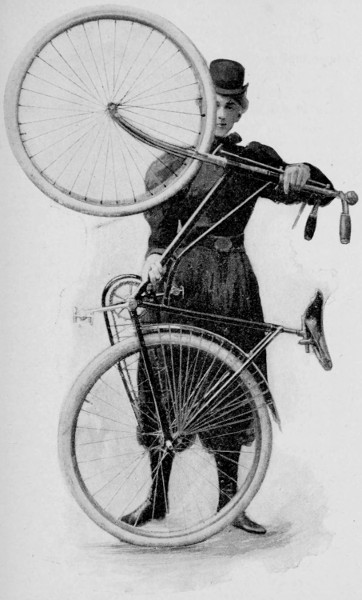
TURNING THE BICYCLE OVER.
Begin by carefully removing all mud and grit
from the bicycle. Wear old gloves, and remove mud
with the hand when possible, finishing with a cheese-cloth
duster and an old oily cloth. Go over all the
joints where the wheels turn, and remove every particle
of grit, then remove mud and dust.
An experienced worker, to save labor, cleans each
piece as it comes off, but the beginner must work
more slowly. Have ready a shallow box or tray to
receive the parts as they are removed. Lay each
part, as it is taken off, in the tray, with the oily side
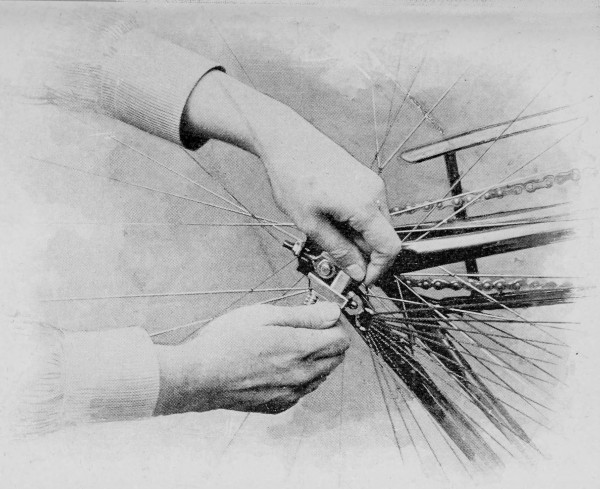
up, for a guide. First, remove the chain, turn it
until the nut of the little screw-bolt is found. This
little bolt forms one of the link-pins, and can be
found quite readily. One end of the bolt has a
screw-head notch, and the other a nut and thread.
Use the small bicycle screw-wrench for this, a large
screw-driver, and a small screw-driver to fit the
screw. Turn the chain until the bolt is in a convenient
position, then take the large screw-driver or a
rod, and place through the spokes of the rear wheel,
letting the bar rest on the frame. This will prevent
the wheel from turning, and keep the pedals and
sprocket-wheel in position; your fingers may be
caught and badly cut if this precaution is not taken.
Fasten the small wrench on the little nut, and hold
it there with one hand, with the other unscrewing
the little screw with a small screw-driver. Should
the screw fail to yield easily, a drop or two of kerosene
will soften the rust and grit, and help to start it.
Return the nut to the screw end, and place it on
the tray. Take hold of one end of the chain, and
remove the bar that steadies the rear wheel, then
turn one of the pedal cranks, and the chain will come
off in your hand. The chain should be placed in
kerosene and left to soak.
The enamel of the frame should then be carefully
rubbed and polished with canton flannel. A clean
piece should be kept for the purpose, for if greasy it
gives a dull look to the enamel. The plating should
be first polished with a cloth, and then if dull with
whiting. Nickel plating takes a beautiful polish
with electro-silicon used on canton flannel.
Go carefully over each oil-cup, and be sure it is
cleaned, and work around the ends of the axles.
Ascertain if either wheel needs adjusting, and look
carefully to see that the rims are true. A good way
to do this is to hold a pencil-top on the frame against
the rim of the wheel, and spin the wheel. If it
touches evenly all around, the wheel is true; if uneven,
take the bicycle to a repair shop and have the
wheels trued as soon as possible.
After cleaning all the bearings, put oil in the oil-cups
and replace the chain. It is well to leave the
chain soaking in kerosene, and later hang it up to
drip, and when dry, it will be found bright and clean;
or keep a can of lubricating oil in which to soak the
chain, and after draining it thoroughly, wipe clean
before replacing on the machine. Take an oil-can,
and oil each separate rivet. Start the chain on the
sprocket, and pull it over the rear sprocket by turning
a pedal crank, bringing the ends on the lower
side. Place the bar across as before, to keep the
sprocket from moving, and then replace the little
screw-bolt, using a small wrench, and a screw-driver
that fits the screw. Remove the bar, see that the
chain is not too tight, and note if it requires any
taking up, an adjustment that is done in the rear
wheel.
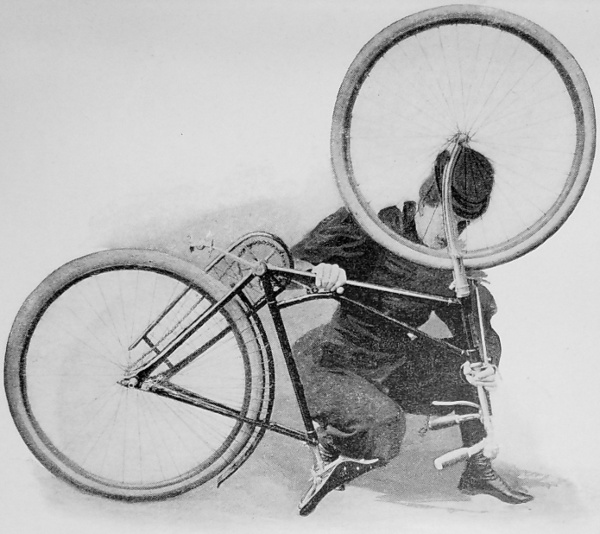
THE BICYCLE TURNED OVER.
Hold the stick of graphite on a convenient surface
of the chain, and turn the cranks; then dust the
chain to take off any small lumps of the lubricant,
and the wheel is ready to be run. Examine the tires
and valves, see that the tires are not too soft, and inflate
them. See that the valves are in order, then
set the wheel right side up. Replace bell and lantern,
rub off any finger-marks, and the bicycle is
ready.
If the bicycle has been running for some time,
and in spite of the care bestowed on it, the chain runs
a little heavy, the pedals don’t spin as they should,
or the cranks revolve as often as they might, and
the wheels are sluggish, there is no remedy but to
take down the bicycle, clean it thoroughly, set it up
and adjust it. It will require several hours’ hard
work to do this, combined with a knowledge of machinery
and a knowledge of bicycle working, or else
enterprise, care, and common sense.
Begin work on a wheel perfectly free, as far as the
outside can be made so, from sand, mud, and grit.
Remove the chain and put it to soak. Have a pan
of kerosene, and place each small part in that to soak,
and any part that has friction surface or is notably
oily or greasy.
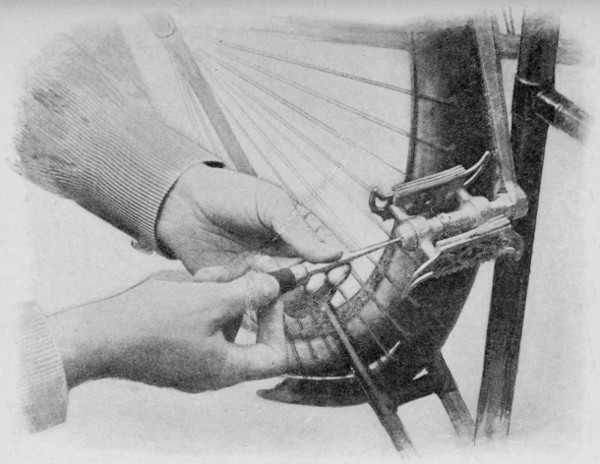
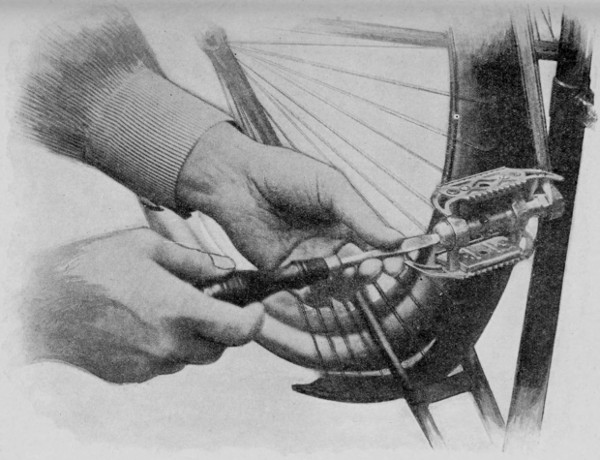
Begin serious work on a pedal, which is small and
easily handled. If the pedal is a removable one,
take it off. If the spindle is stationary, take off the
movable parts, first the nuts or screws, then loosen
the cones, having a box placed underneath to catch
the balls if any should fall out. Support the box
well up under the pedal, as the balls bounce and
jump about. Even if you have had the pedals off
before, and know how it is done, it is well to have
something to catch the balls, as otherwise you must
atone for any mistake by a scramble. Place the balls
in a separate dish of kerosene, and carefully count
them. Wipe the movable parts of the pedals with a
cloth wet in kerosene, and finish with a dry cloth.
In taking a pedal down, the place of each part
should be carefully noted, so that it may be a simple
matter to replace the parts. If, the first pedal being
now apart, the novice is confused, there is the other
pedal to afford comparison. Study that, then return
the parts of the dismembered pedal to their proper
places, and adjust them. The balls may prove
troublesome; but a screw-driver dipped in vaseline
will pick up any very small balls, and pliers can
manage the larger ones. See that cones and washers
are replaced, then add a few drops of oil, adjusting
the pedal to spin easily without lateral play, and
tighten cones and nuts. Spin the pedal for a final
test, and then begin on the other pedal.
If after several hours’ work, but one pedal is finished,
if that one pedal is in perfect order, there is
much cause for congratulation. The other pedal
may be done very much more easily and rapidly.
Of course, it takes time to wipe all the balls and
cones, and nuts and screws, and washers and spindles,
and when the pedal is in your hand, a little
time may be spent to give it an extra rub to brighten
its polish. Wipe off any oil that may have shown
in the joints of the bearings, and the pedals are
finished.
The front wheel should next engage attention.
Take a large wrench, and start the bearing cones,
and take off the nuts at opposite sides of the ends of
the forks. These nuts are screwed on the ends of
the axle, and perhaps have metal washers under them.
Place them in a box by themselves, and if the forks
are notched, there will be nothing to do but to lift
out the wheel. If the ends of the forks have only
eyes, the forks must be sprung to take the wheel out.
When the wheel is in your hand, avoid letting any
grease or oil touch the tire, for it will injure the
rubber. Now proceed to work on the axles. Support
the wheel on a large, empty wooden box. The
axle is a spindle, and has cones to hold the balls in
against the bearings. The cones must be removed
and cleaned, and the socket of the hub made clean
with an oily cloth followed by a clean one. The
axle’s spindle should be replaced, and the balls and
cones restored to their proper relative positions.
Drop in a little oil, adjust and tighten the cones,
then spring the wheel back between the forks, and
true it; see that it runs even between the forks and
that the cones are keyed up firm and even. Replace
the nuts, and screw up firm. Wipe off any oil that
may have worked out, and spin the wheel to try it.
If it runs long and steadily, and has no lateral play,
and everything is keyed up tight and true, this part
of the work may be considered finished.
Some prefer to use a little pure graphite for the
balls, and no oil; and again some bicycles are made
without oil-cups. For the first work, oil is safer to
handle; but remember that two or three drops are
enough. Too much is worse than useless, for oil
spreads over a large surface, and will cover all the
surface of the bicycle with a thin film, which will
need to be constantly wiped off.
The rear wheel may be removed without springing
the frame. Unscrew the adjustment attachment,
and the wheel will come out. Clean the rear wheel
bearings in the same way you have cleaned those of
the front wheel; replace the rear wheel, and put back
the adjusting attachment.
Give the crank axle the same care and attention
that the wheel axles have received. The pedal
cranks are fastened on either end of the crank axle
in such a way that the dead centre is avoided as much
as possible. The large sprocket-wheel is on the
crank axles, and sometimes not movable. The
cranks are screwed or fastened with pins to the ends
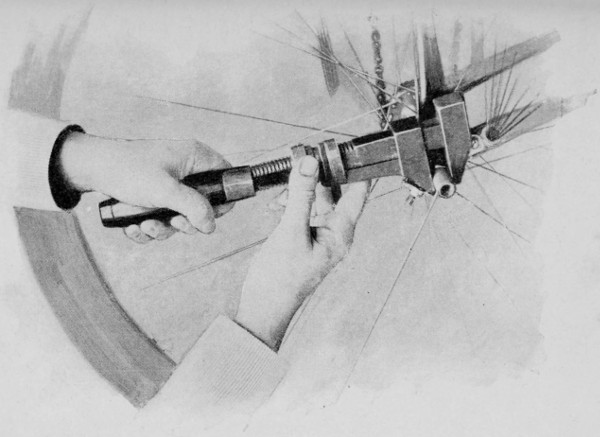
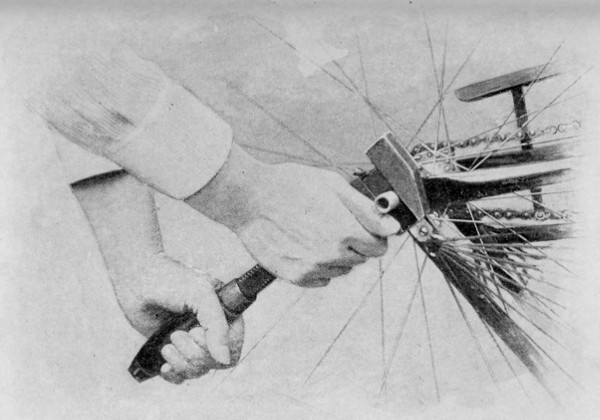
of the axles, and should not be disturbed. Take the
large key-wrench from the kit, and start the bearing
cones. If the crank must come off, see that the nut
on the end of the crank-pin is flush with the end, and
place a piece of wood on it before striking it with a
hammer, as already explained, to start the bolt or
pin. Or if you have some one to help, let a heavy
hammer-head be held under the crank beside the bolt,
at the other end; and the double shock and recoil
from the heavy hammer as the blow is struck will
jar the bolt loose.
Remove and clean the cones and balls, then replace
and oil them, and adjust the cones tight, ready for
adjustment when the cranks are in place. The only
bearings left to attend to are those in the head of the
frame. Take out the handle-bars, and wipe them
and their socket very carefully; never allow any oil
to remain there. The handles should never be immovably
tight; yet grease, if any were introduced,
would perhaps cause them to slip when they should
remain in place. The crank axle-key usually fits the
cone of the head of the frame, and that may be
treated as any other set of ball bearings—loosened,
removed, cleaned, replaced, oiled, adjusted, and
tightened. Any dust may be removed from inside
the frame-head while the bearings are off.
When the head bearings have been restored and
the handle-bar replaced, put on the chain and adjust
it. The rear wheel is arranged to move forward or
back on the frame by the adjusting attachment.
This allows the two sprocket-wheels to be placed
nearer together or farther apart, and the chain may
be stretched and held between them to any desired
degree of rigidity or of slackness.
When the bicycle has been set up, the parts correctly
replaced, before turning it right side up, go over
the entire adjustment of the machine, to see that
nothing has been forgotten. Have wrench and screw-driver
at hand and a clean cloth. Begin with the
bearings of the front wheel. See that the oil is not
working out, and wipe them again. Take the key,
and see that they are true and tight. Apply the
screw-wrench to the nuts of the fork, and see that
they are screwed home. Treat the rear wheel in the
same way, and look that both wheels travel on the
same line or plane; if they do not, it is because the
bearings are out or the frame is bent. Go over the
axle bearing, feel the chain, spin the pedals and
wheels. A well-adjusted wheel will carry the weight
of the valve around quickly and then swing back,
showing how sensitive it is to so small a weight. If
you are satisfied that everything is right, turn the
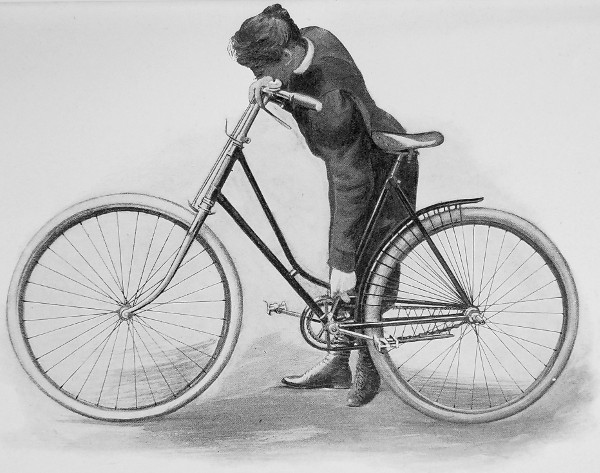
bicycle right side up, and square the handle-bars.
The only way to do this is to stand in front of the
bicycle, and take the wheel between the knees while
the handles are pulled into place.
The saddle-post and screw-nuts that hold it should
be examined and removed and carefully wiped, as
well as the socket where they belong. The screw
that holds the saddle-post in place does its work by
friction, and any oil would prevent it from acting
properly, and the saddle would slip. Keep the oil-can
carefully wiped, and see that the little spout has
a clean round hole at the end that will allow only a
drop at a time to escape; for oil travels and spreads
in a marvellous manner, appearing where least expected
or wanted. If there is a hand-brake on the
bicycle, adjusted to alter with the handle-bars,
examine it carefully, and wipe the rods. Oil here
will allow the coupling to slip and the action of the
brake to be impaired.
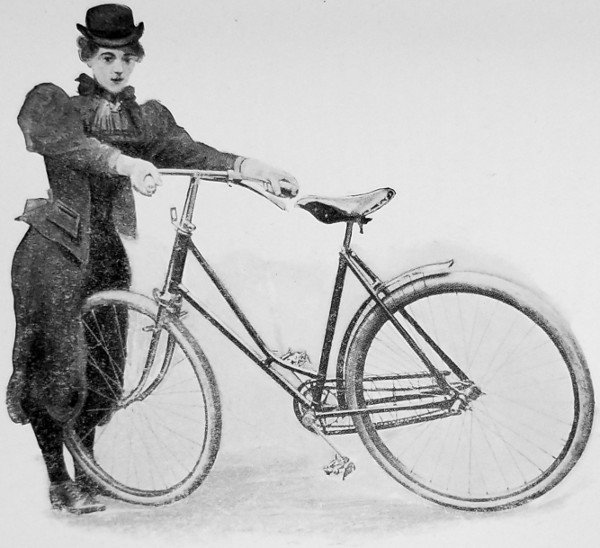
STRAIGHTENING THE HANDLE-BARS.
There are so many things to be carefully observed
and accurately done in this kind of work that mistakes
and omissions may be easily made by the inexperienced;
but there need not be so many blunders,
after all, if one works slowly and observingly, taking
notes, in writing if necessary, as for instance
how far the bearing cones are keyed in when in
place, which is the reverse side of the crank and
pedal pins, if they are interchangeable, or rights and
lefts.
Screw threads are made rights and lefts, and
threads are made to fit them in the sockets where
they belong. That pedals may not work loose, the
spindles are made right and left, with a reverse screw,
so that forward pedaling drives them tighter. In
the older constructions, the pedal sometimes became
unscrewed and fell off, or the nut fell off and the
pedal loosened. All such matters should be studied
before taking down a machine. Usually the maker’s
catalogue will describe and illustrate these details.
Study that, and learn the names and uses of all the
parts of the bicycle, and then you will be prepared
to go to work by yourself, or with but little assistance.